2 months by cncdivi
I initially penned a piece about Austin’s work awhile back, but felt compelled to revisit and update the piece because he is running a fantastic CNC business with products that I believe many would find appealing. He serves as a significant source of inspiration for individuals possessing imaginative prowess and craftsmanship, but grappling with how to transform that into a business endeavor. I stumbled upon Austin’s work on CNCZone quite by chance. It came about during one of those “click the link” scavenger hunts, but it was absolutely worthwhile.
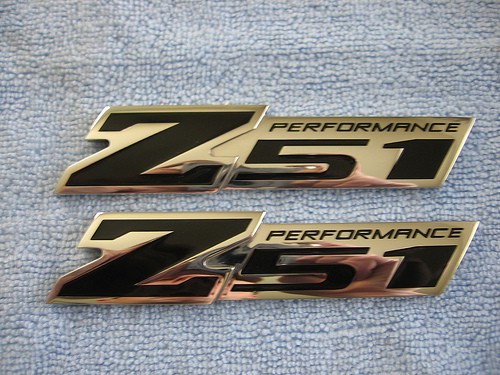
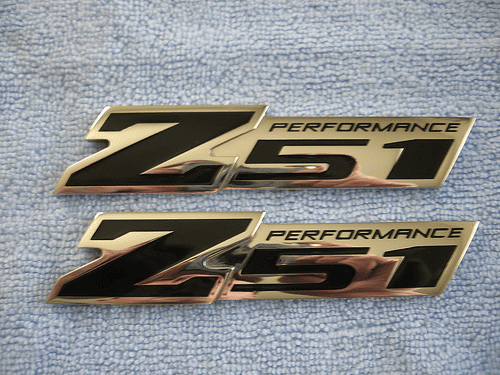
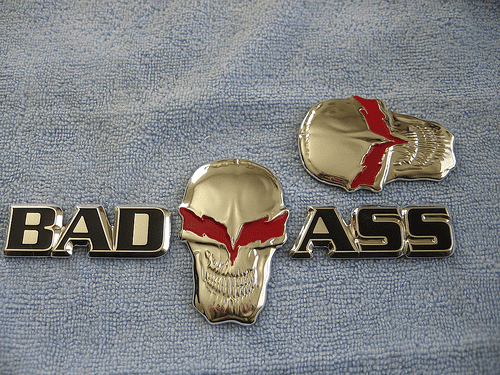
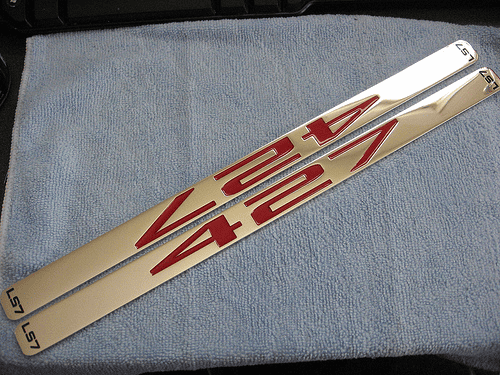
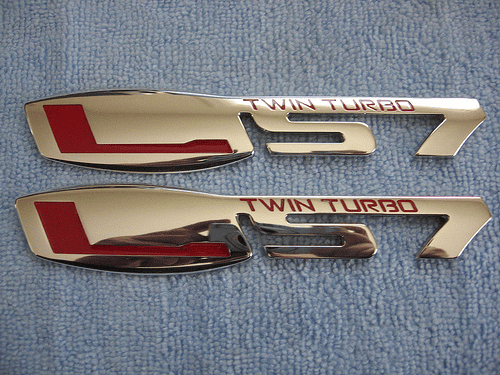
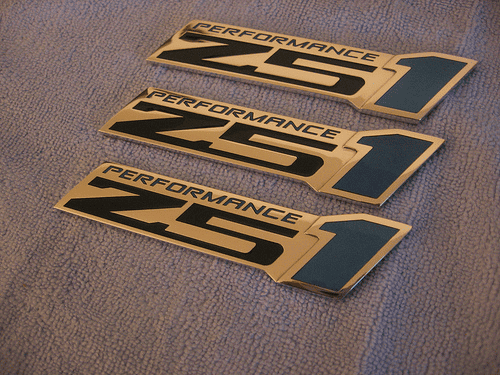
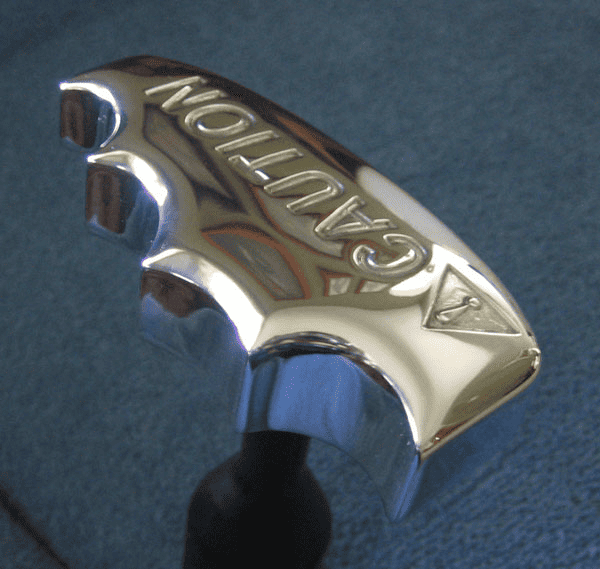
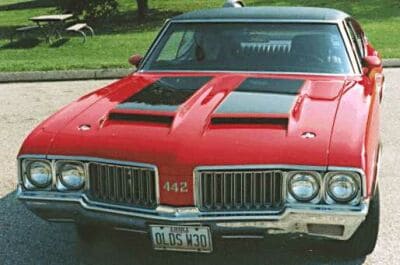
Check out these amazing custom badges he makes for the Corvette community:
|
|
|
|
|
|
|
|
|
Aren’t they gorgeous?
If you are interested in any of Austin’s badges for your car, here is his contact information:
Austin Barnett
(218) 828-4544
(218) 839-5928 cell
austinbarnett@charter.net
Making Car Badges
In the original CNCZone post, Barnett provided some details on how he makes them on his Mach3 converted Bridgeport Boss mill:
I cut them from 6061 aluminum, sanded them up to 800 grit and buffed them out. I chromed them using copy chrome from caswell plating, which I really recommend. Then I filled in the engravings with paint. It a pretty laborious process and it takes a bit of time, but it keeps me from having to punch a time clock.
Since then, he has refined his work in a number of ways. For example, he says he is no longer using Copy Chrome. It’s a fine product, apparently, but the badges pictured above are all just polished aluminum. Also, here is his sanding routine:
Sanding:
1. start with a palm sander with 220 grit and do as much as I can.
2. Same palm sander and switch to 400.
3. I use a Dremel contour sander with 220.
4. Continue with the contour sander with 400.
5. Paint the emblems
6. Palm sander the paint with 400 to get rid of the extra clear, that went outside the lines of lettering.
7. Wet sand with soapy water and 800
8. Start the buffing with an automotive style buffer with a wool pad and 3M perfect it rubbing compound.
9. After the paint has been properly smoothed I move back to the contour sander. This time I put a microfiber cloth on it, instead of sand paper, and use some mothers billet polish.
10. Laser cut some double sided tape, using the Rabbit HX40B, and apply it to the emblems.
11. Finally I go back over the emblems with the mothers billet polish by hand using the microfiber cloth.
In paint department, Austin went from using automotive touch-up paint to using automotive base plus clear to using just powder coat these days. I really like powder coat for its durability and people seem to get excellent results from it.
There’s even been a major upgrade in the CNC machine. Austin started out with a CNC’d Bridgeport sporting a router spindle to get better finish and productivity from the tiny endmills he favors for the badges:
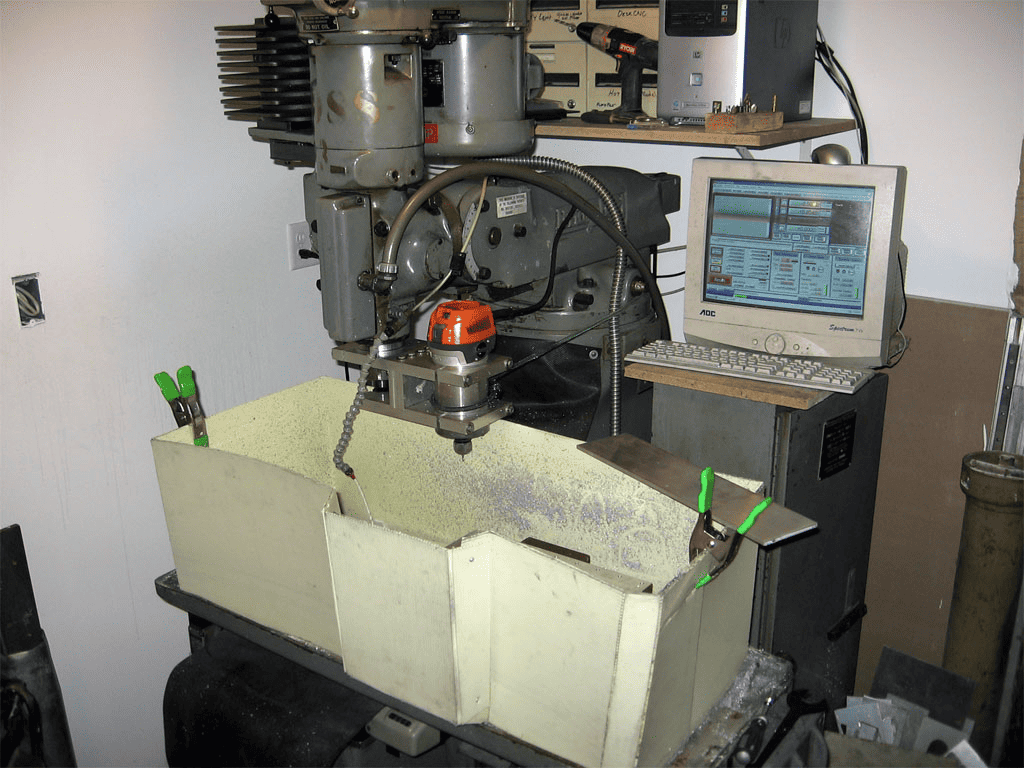
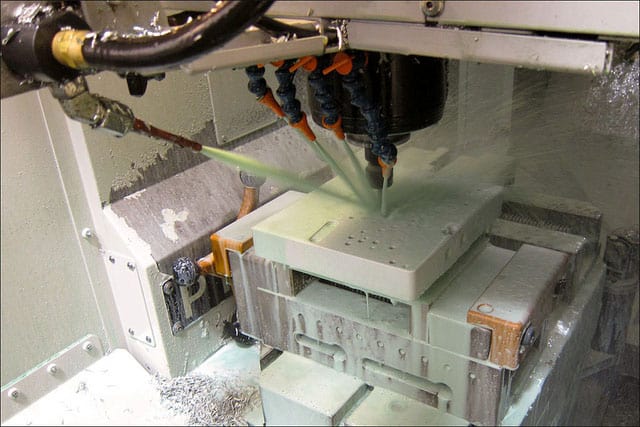
A table enclosure to control the flood coolant. Also note the bungee tensioner on the router: low cutting force at these rpm’s!
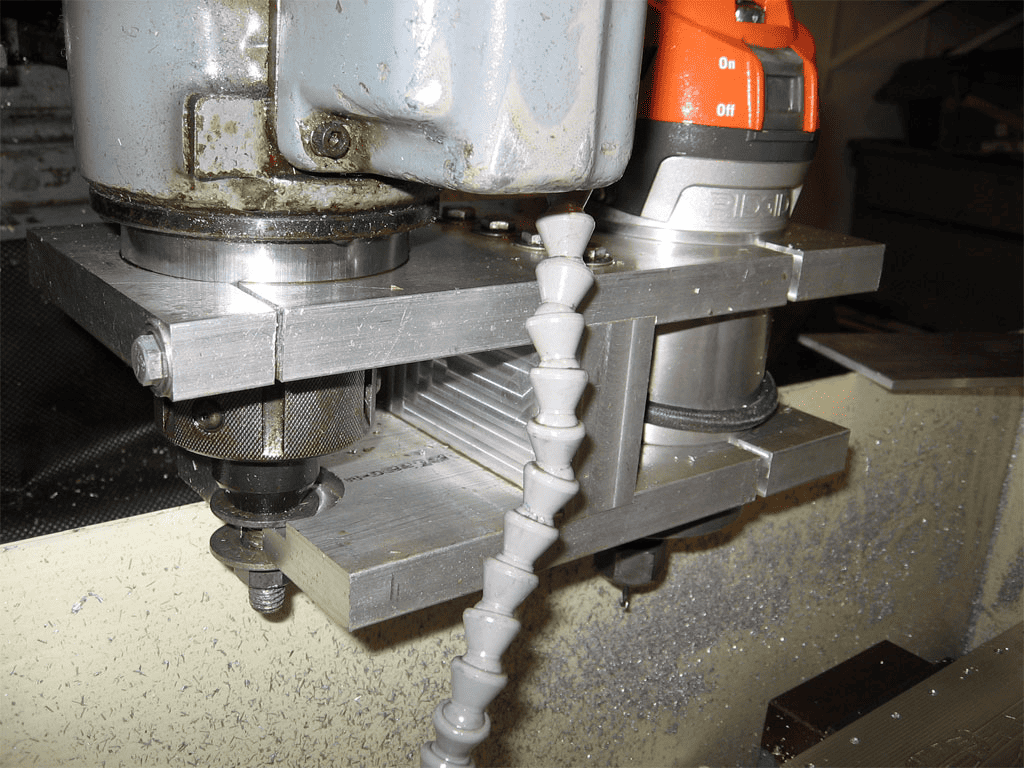
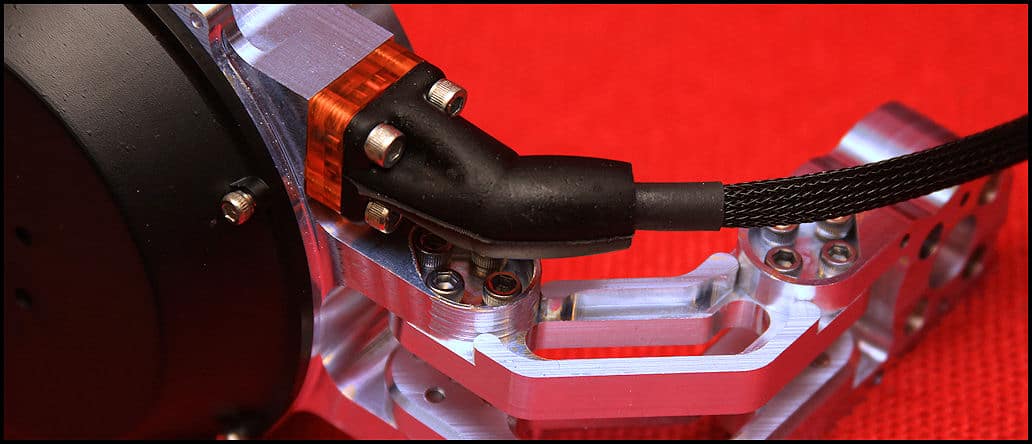
High speed auxilliary spindle for fine engraving. Note the solid mounting to both quill and spindle…
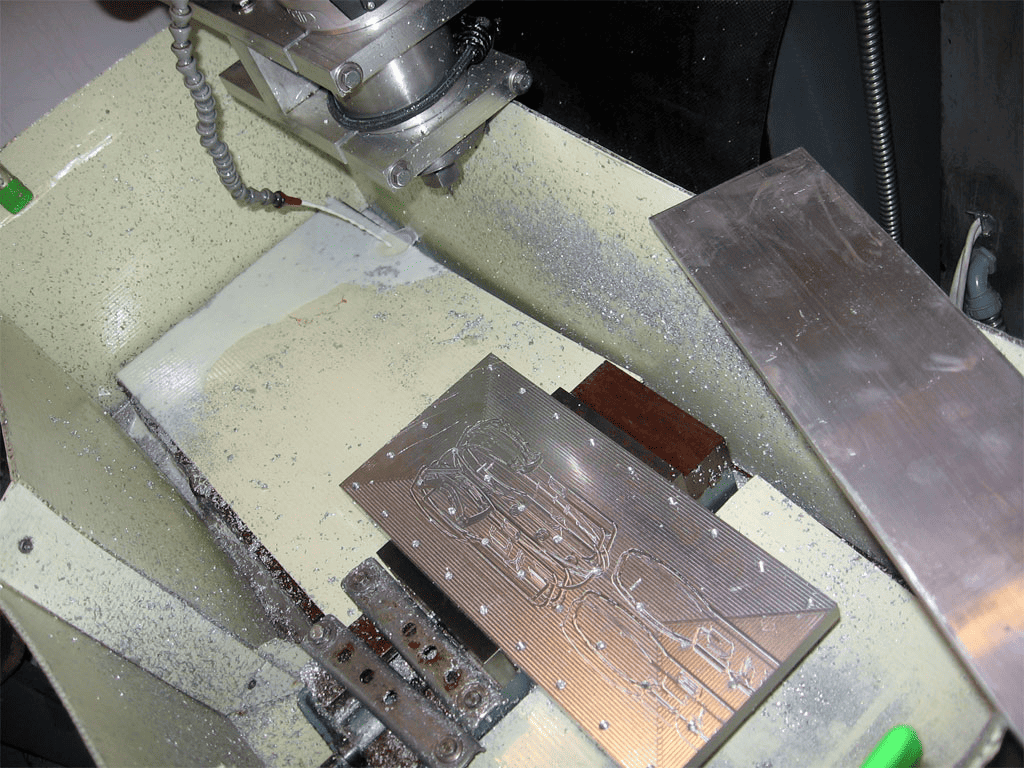
The badges are machined on this fixture plate that clamps into the vise…
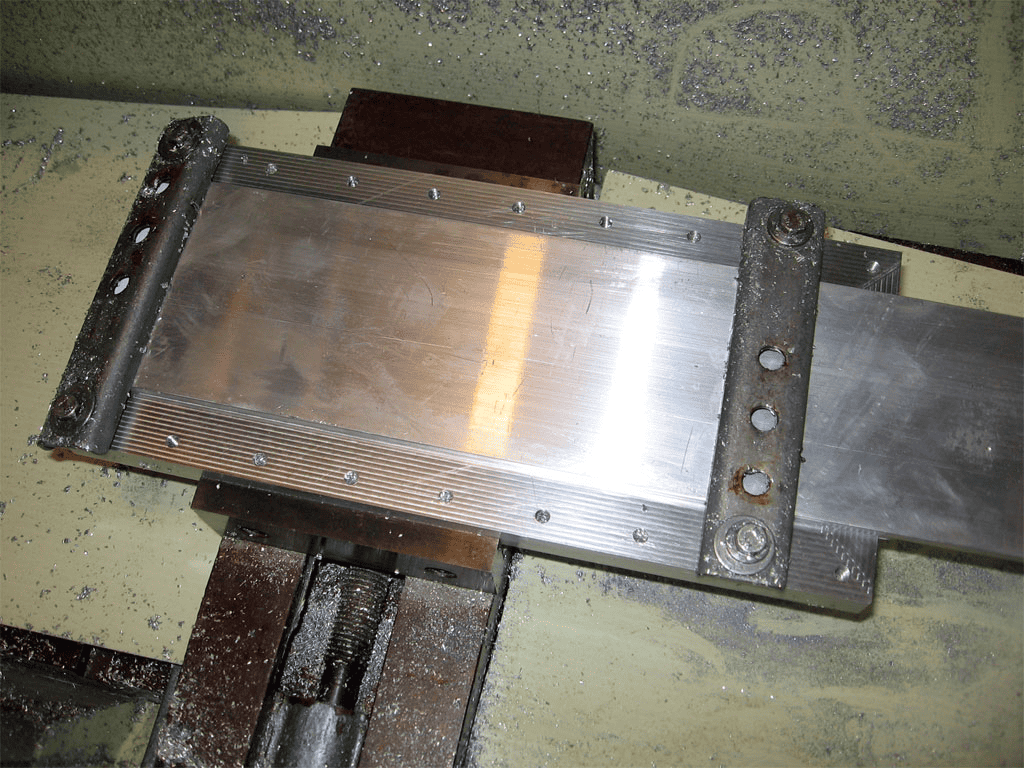
Here is a piece of 6061 Tee’d up. There is double sided carpet tape underneath to hold the plate on the fixture, as well as the two clamps on top…
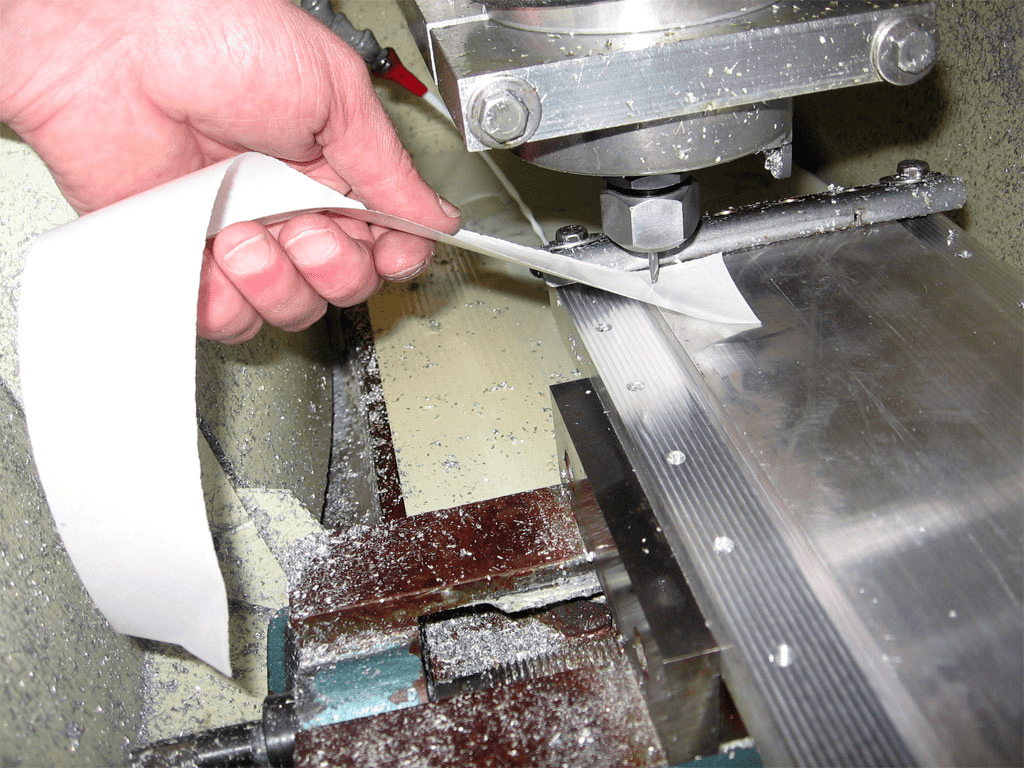
The backing paper from the carpet tape makes a nice feeler gage to touch off!
Eventually he decided he wanted another machine so the Bridgeport wouldn’t be tied up for hours doing work it wasn’t exactly designed for. So he purpose-built a small CNC mill just for badge making. The machine is based on some linear slides he got from eBay, and is stepper driven:
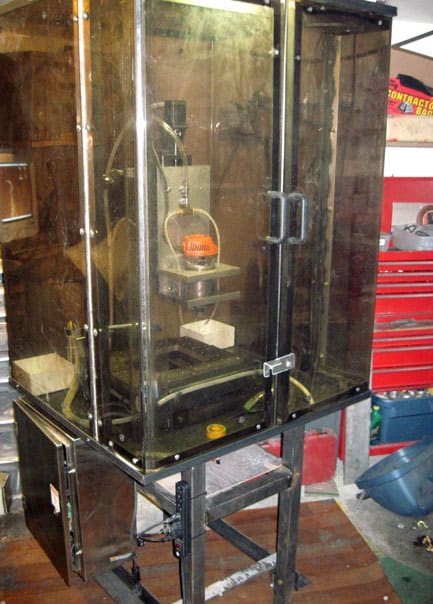
Start with a full flood enclosure…
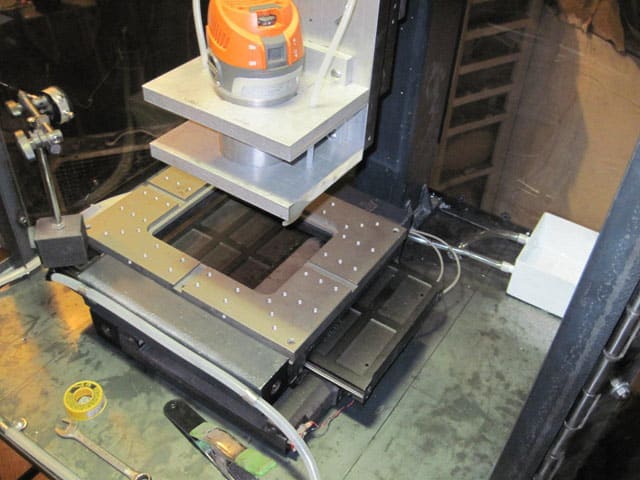
Fixturing not in place so you can see a bit more of the machine…
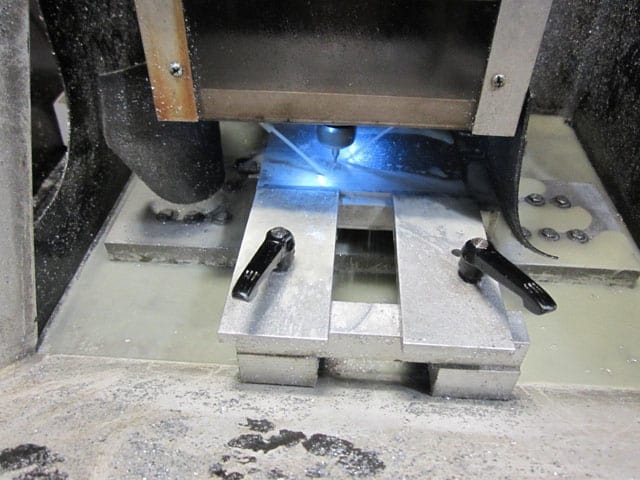
Fixturing is purpose-made for the badge business…
Austin says the new machine does the job better than the Bridgeport did. He’s followed a great path in optimizing his business based on trying new things and learning along the way. Having reached his current stage of badge making, he has now built a plasma table and launched a second business. Here is a little video tour of the new plasma table:
One of the features I like is the webcam adapted for lining up the table. Barnett says it works better than the laser pointer he originally used.
The plasma table earns its keep producing signs that Austin sells Etsy. Between Etsy, Kickstarter, and a host of other similar services, it’s easier than ever for the startup craftsman to find a market for their products.
Austin is a G-Wizard customer, and I thought he had a great story, so I wanted to tell it one more time here on CNCCookbook.
Like what you read on CNCCookbook?
Join 100,000+ CNC'ers! Get our latest blog posts delivered straight to your email inbox once a week for free. Plus, we’ll give you access to some great CNC reference materials including:
- Our Big List of over 200 CNC Tips and Techniques
- Our Free GCode Programming Basics Course
- And more!
Just enter your name and email address below:
100% Privacy: We will never Spam you!

Bob is responsible for the development and implementation of the popular G-Wizard CNC Software. Bob is also the founder of CNCCookbook, the largest CNC-related blog on the Internet.

![Easy Guitar Drawing for Custom Guitar Bodies, Part 1 [CNC / CAD Project] Custom guitar drawing - part 1 outline creation for CNC design.](https://www.cnccookbook.com/wp-content/uploads/2017/08/img_5988e7e5d562a.png)
![Easy Guitar Drawing for Custom Guitar Bodies, Part 2 [CNC / CAD Project] Three electric guitars displayed with text "creating a cnc guitar design part 2: simple body" and attribution to bob warfield.](https://www.cnccookbook.com/wp-content/uploads/2017/09/img_59ac6dfc2cc0b-1.png)
Austin has done many badges and other car pieces for me over the years. I think my emblems were the first he had done for a Corvette. Highest quality workmanship and a great guy as well. With all his new business,I hate having to ‘get in line’ for his special products..Happy for you Austin
Paul, thanks for jumping in. I love Austin’s work and have written about it twice now.
I would like to see if you can make a special car badge. I have a 66 Malibu. I want to have the rear quarter script say Maliblue. What do u think?