What are Blind Holes?
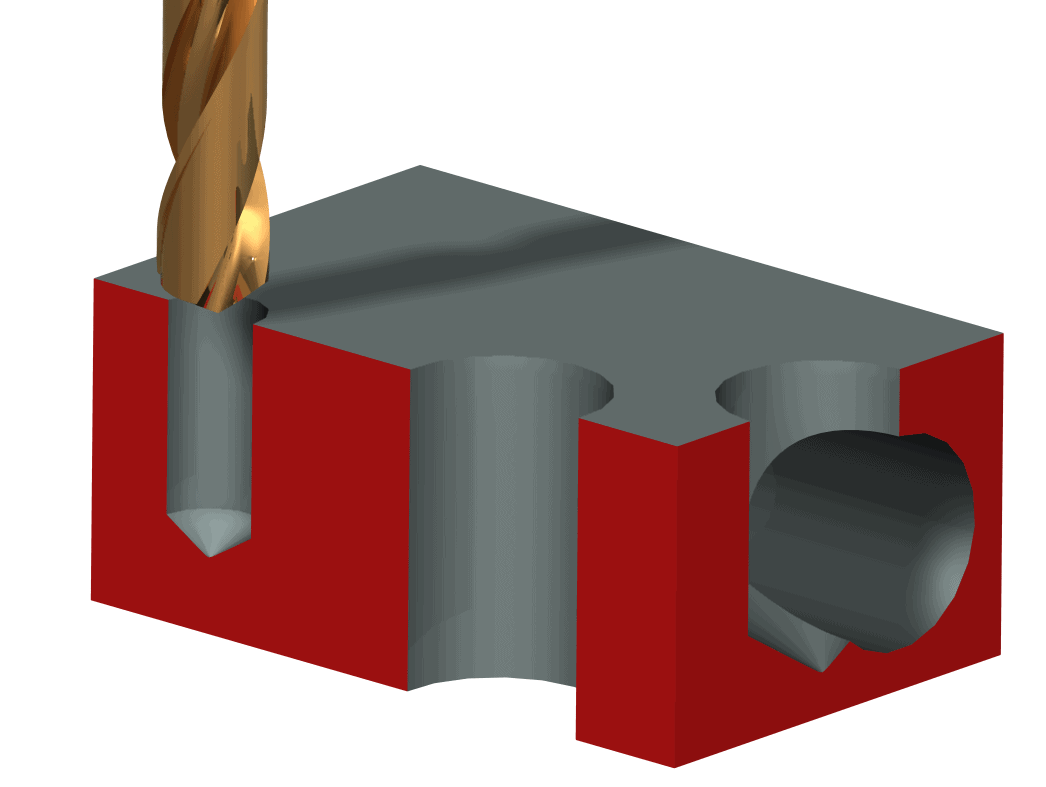
Blind Holes don't go all the way through the material. Image by By Robert Hewitt
Blind Holes don't go all the way through the material. As a result, any chips made during drilling, reaming, tapping, or other operations can't just fall out the bottom. They have to be evacuated by the helix of the cutting tool or some other means.
That makes Blind Hole Tapping tougher than through hole tapping, and therefore, it means you're more likely to break taps. This article will give you the tips you need to minimize tap breakage on blind holes.
Special LiveStream Event: Blind Hole Tapping
Learn Blind Hole Tapping with a Tapping Arm from the geniuses behind the Flex Arm tapping arm in this special live video event.
Choose the Best Hole Size to Start
Let's get ahead of the game right from the start by choosing the right hole size. It may surprise you to learn that the size recommended on the tap's packaging or in the typical charts is usually NOT the best size to use!
Full details here, but in general, you want to select a hole size that matches a good balance between holding power of the threads and torque required to tap. That torque is the force on your tap that will break it if too much, so that's why reducing the torque will save taps.
There are charts available to help with this, but our G-WIzard Calculator has a handy built in reference right on our Threads tab that will figure it out for any thread you use.
Use the Right Kind of Tap
Remember that with Blind Hole Tapping, the chips have nowhere to go but up. The hole has a solid bottom they can't drop out of. Because of that, you want to use taps designed for blind holes. We have a complete guide to tap types that will walk you through what's best for your application.
The common answer is you want a Bottoming Tap. That's pretty old technology for CNC'ers. In fact, if you take a look at the section below on Maximum Tapping Depth on Blind Holes, you'll see that Bottoming Taps don't matter. The extra thread on them never gets to the bottom of the hole. Truth is, Bottoming Taps are really intended for manual tapping applications.
For CNC, I much prefer Spiral Flute Taps:
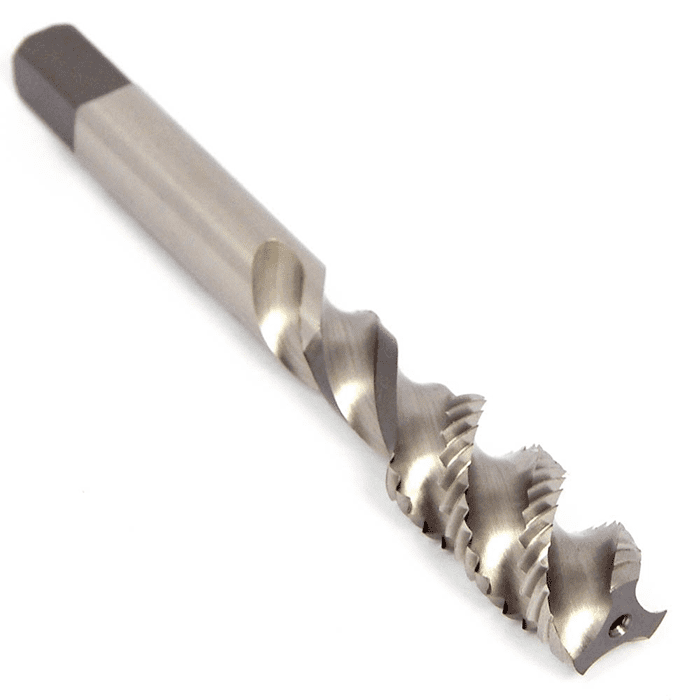
Those bad boys have a serious helix on them that will pull the chips up and out of the hole. Just what's need when Blind Hole Tapping.
Maximum Tapping Depth on Blind Holes [ Stop Breaking Taps! ]
I recently did one of my CNC Chef videos for Cutting Tool Engineering Magazine. The subject is 7 ways to avoid breaking taps. One of those most important is to Mind the Depth on Blind Holes.
I never thought real hard about exactly how deep the tap can go for a blind hole. I knew it had to stop short of the bottom of the hole, but it turns out there are detailed calculations you can make to determine exactly how much clearance to leave.
Here's the slide from my video that gives all the formulae:

One of the key things I discovered is that the clearance you need to leave is quite a bit more than I would have thought. For a 1/4-20 thread roll form tap, it's 0.214-almost a quarter of an inch!
That information came to me from the Tapmatic people, who surely do know a lot about tapping.
The calculations aren't hard to do, but given their necessity whenever a blind hole is to be tapped, I thought it'd be convenient to do the calculations for you in G-Wizard Calculator.
Figuring out stuff like that so you don't have to is exactly why G-Wizard exists. So there's a new Blind Hole Clearance Calculator located on the Threads Tab in G-Wizard:
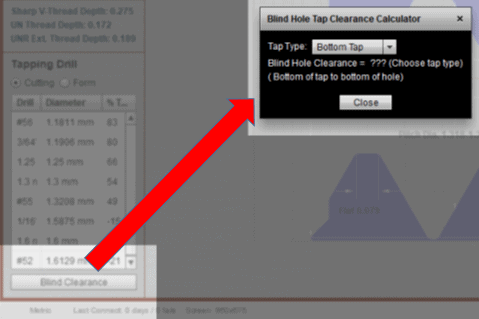
Just click the "Blind Clearance" button below the Tapping Drill chart to bring it up. Once you've got it, tell it what kind of tap you're using and it'll calculate the rest based on the thread you have currently selected.
BTW, there's a whole lot more threads-related power in G-Wizard. The threads tab has the following capabilities:
- Gives all the key dimensions for each thread in both a graphical diagram and a columnar report. Lead angle, major and minor diameter, pitch diameter, tolerances, and much much more. Threads are complicated beasts with a lot of dimensions!
- Full Measurement Over Wires (MOW) info so you can check the threads you are working with.
- Tapping drill selection. The drill called for on the package or in the hardware store chart is almost never the best one to pick. Learn more in this article.
- There's even a tab that gives you a full recipe for cutting the threads on a manual lathe.
All in all, it's a must-have resource for anyone who works with threads much. But it gets better. The G-Wizard Thread Calculator add-on module brings a huge assortment of additional thread families to the party. You'll never have to scratch your head and dig through obscure thread references again.
Don't Forget to Threadmill
If you need to put threads into tough materials, especially if you can't afford to scrap an expensive part, don't forget to threadmill. Thread mills generate much lower cutting forces, and even if you break one, it is smaller than the hole so the part is probably still good.
Be the first to know about updates at CNC Cookbook
Join our newsletter to get updates on what's next at CNC Cookbook.