Free GD&T Calculator [ + Much More ]

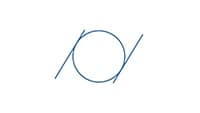
GD&T Cylindricity Symbol
GD&T Cylindricity Definition
In GD&T, Cylindricity describes how close an object conforms to an idealized cylinder. Think of it as requiring the object to be straight enough along its axis and round enough to conform to a cylinder. Cylindricity is not related to any datum, and it must be less than the diameter tolerance of the part (makes sense, right?).
Cylindricity is commonly used for parts like pins that must have good circularity and straightness. The advantage of using Cylindricity over, say, Circularity, is that Circularity applies to a cross section while Cylindricity applies to the entire surface.
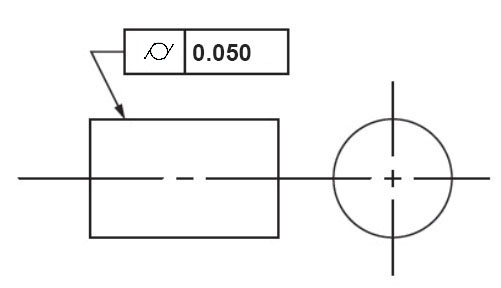
GD&T Cylindricity Callout on Drawings

Cylindricity callout...
The Cylindricity callout points the arrow to the surface and gives the tolerance.
Cylindricity Tolerance Zone
The Tolerance Zone for Cylindricity looks like two perfect cylinders around the part whose axis is aligned with the center axis of the part. The distance between the inner and outer cylindrical tolerance zone is the area that every point on the entire surface of the feature must fall into.
How to Measure Cylindricity
The cylindricity of a part may be inspected as follows:
1. Place the part on a turntable whose axis matches that of the part.
2. Place a measuring instrument in contact with the surface.
3. Rotate the part to measure deviation along the circle and the probe must be moved up and down so the entire surface is swept..
GD&T Table of Contents GD&T Symbols
What Next? How about this:

Be the first to know about updates at CNC Cookbook
Join our newsletter to get updates on what's next at CNC Cookbook.