One of the things my new-to-me Rockwell Delta 20" Bandsaw is missing is a miter gage, so I figured I'd better whip up a nice one for it.
Design Concept
Here is a Rhino3D model of the finished part:
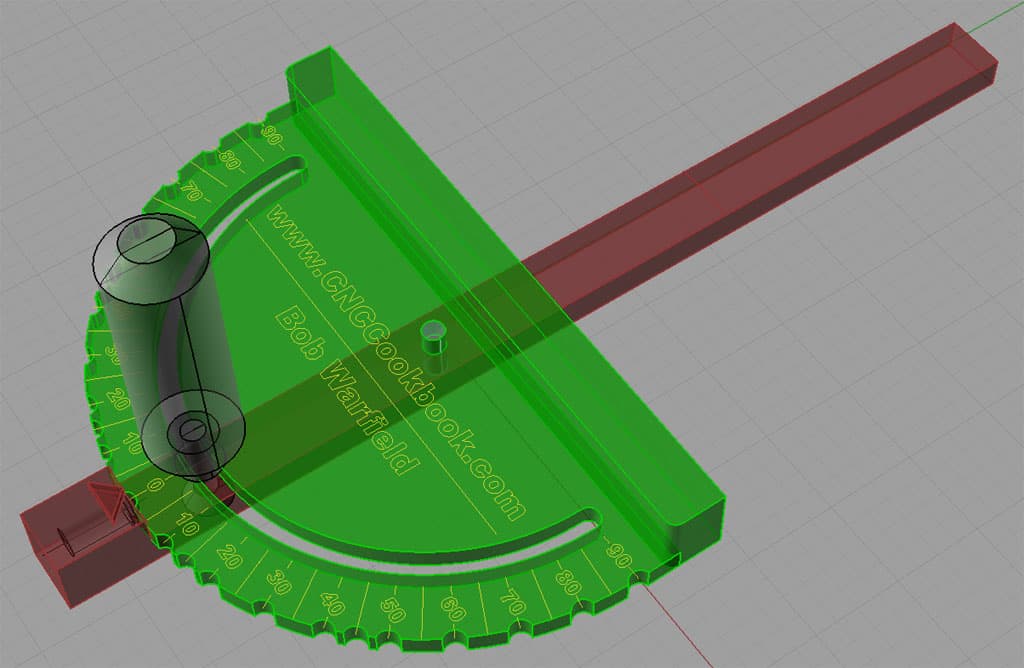
This miter gage is a straightforward design. Its most interesting feature is a ball detent that makes it easy to set the gage to 10 degree intervals, with extra stops at 15 and 45 degrees. The protractor pivots on a 1/4" dowel pin, and is locked in place by screwing the handle down on a 1/4" flat head cap screw embedded in the crossbar.
Plan of Attack
There are some key considerations for the plan of attack:
1. Minimize the number of setups.
2. Maximize the opportunity for good workholding
3. Maximize the accuracy of the work.
We have three major parts to machine: the handle, protractor, and guide bar.
With those principles in mind, I shall approach the machine work for each part as follows:
Protractor
Task 1: Cut the stock. The protractor will be machined from a piece of 71/4" wide by 1" thick 6061 aluminum. The overall bounding box for the finished protractor is 7.125" by 4.561" by 0.800". I should start with a block that is sawn to 7.250" x 4.75" x 1".
Task 2: Face mill the edges to square the block. Face mill the top and bottom to make the plate true. The thickness is left with as much material as possible-we don't want to get down to the finished part's 0.800" thickness yet.
Task 3: Drill and ream the 1/4" holes that will be used for the ball detent around the perimeter of the protractor and the dowel pin pivot.
Task 4: 2D profile the fence at the top of the protractor.
Task 5: 2D profile the protractor's outline. The thickness will be furthered reduced, but there will be an excess that forms a rectangular plate that our vise can continue to grip. We will begin this task by facemilling 0.550" off the protractor taking care not to run into the fence.
Task 6: Cut the curved slot the locking handle rides in. This slot is 1/4" wide, so we will use a 3/16" endmill to ensure it is true and has a good finish. If we cut a full with slot that would not be the case.
Task 7: Cut the rounded rectangular pocket that will hold the engraving.
Task 8: Engrave and chamfer the edges.
Task 9: Flip the part upside down and use a face mill to remove enough thickness to leave the finished 0.800" thick part.
Guide Bar
Handle
Protractor Construction
Bandsaw Work to Cut Stock
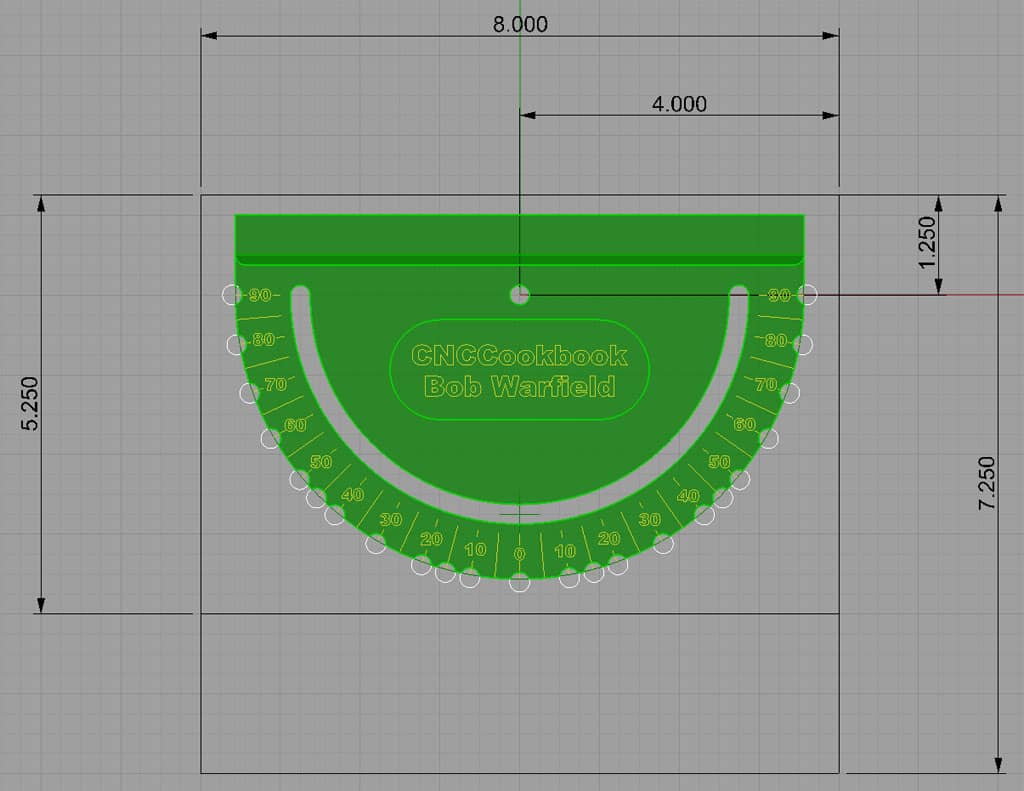
Material is 7 1/2" wide x 1" thick 6061. I'll cut an 8" length and then trim 2" from the edge to leave a piece 8" x 5 1/4" x 1"...
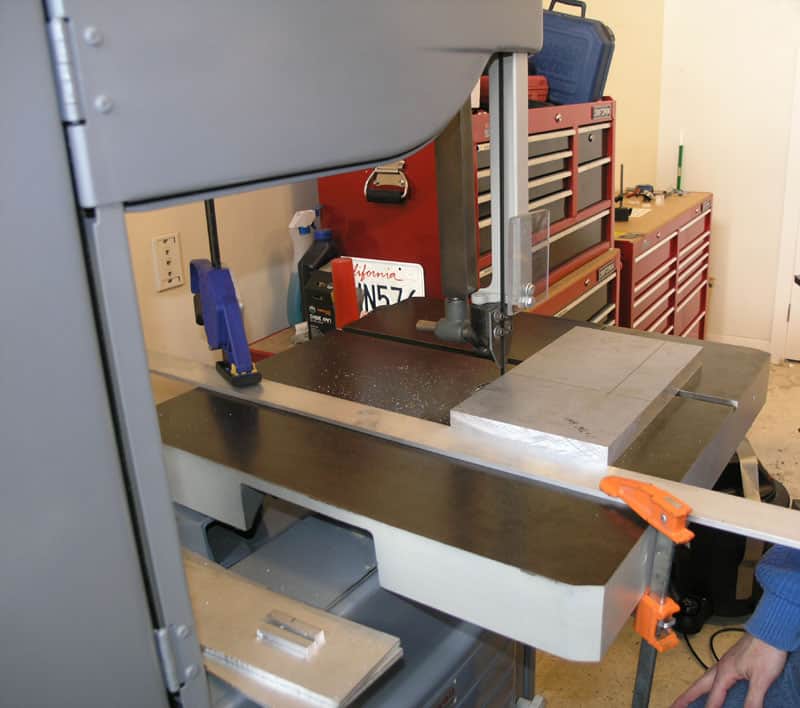
A piece of 1" thick 6061 is marked out with Sharpie and waiting on the bandsaw table. A fence has been clamped in place to help guide it...
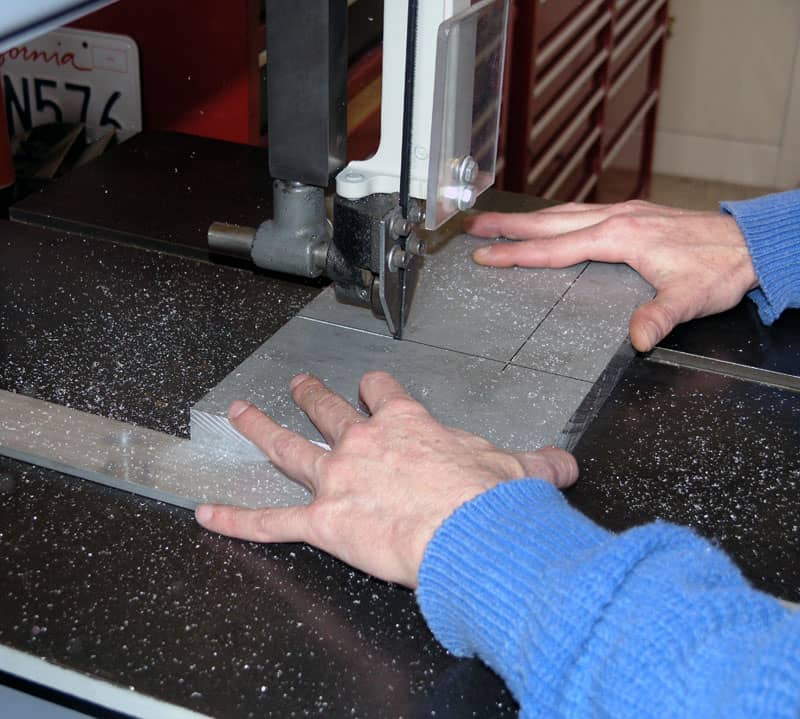
With a new blade on the bandsaw, it's amazing how easily it cuts the aluminum. Very little pressure is needed to move the block quickly through the cut. You almost feel like the block is made of butter!
Squaring Stock
We'll square the two long edges. Most of the top face gets milled off, so no need to square it.
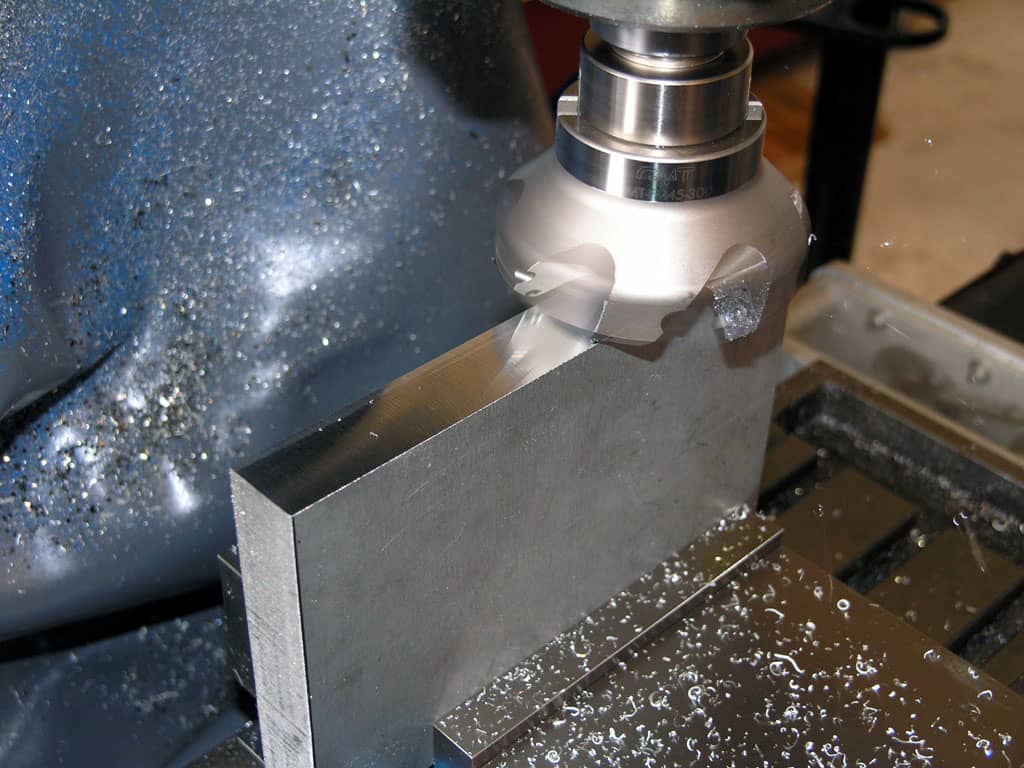
That Glacern 45 degree facemill produces a wonderful finish. I can run it at 90 IPM, but just for grins I made a pass or two at 10 IPM Using the super sharp aluminum inserts, you could see diffraction rainbows and a near mirror finish. This was a very similar finish to what I saw coming off a friend's Fadal with a high dollar individually adjustable insert height face mill and massive flood coolant...
Drill and Ream the Dowel Pin Pivot and Ball Detent Holes
The dowell pin pivot is the 0, 0 datum for all the g-code.
We'll be using a "B" HSS Twist Drill (0.238", which is 0.012" undersized) in screw machine length to drill the hole. Speeds and feeds via G-Wizard:
1600 RPM, 8.9 IPM
The 0.250" Reamer will use 1600 rpm, 15 IPM.
G-Code for Twist Drilling
G-Code for Reaming
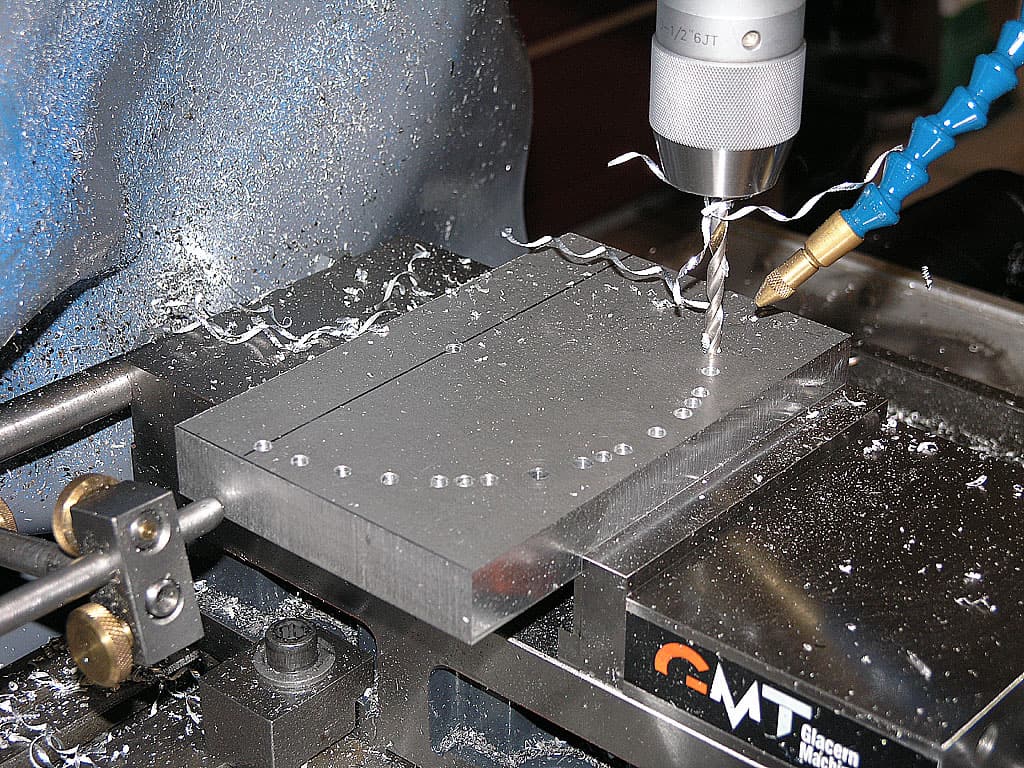
This peck drilling cycle is the kind of operation where you wonder how you ever got by without CNC. A DRO, at the very least, would be helpful for laying out those holes along the periphery of the miter gage. As it was, my brother and I got to watch the peck drilling cycle while we chatted. Biggest issue is I just don't have the spindle rpms to really break the chips. We stopped once or twice to clear the big stringers that were hanging on.
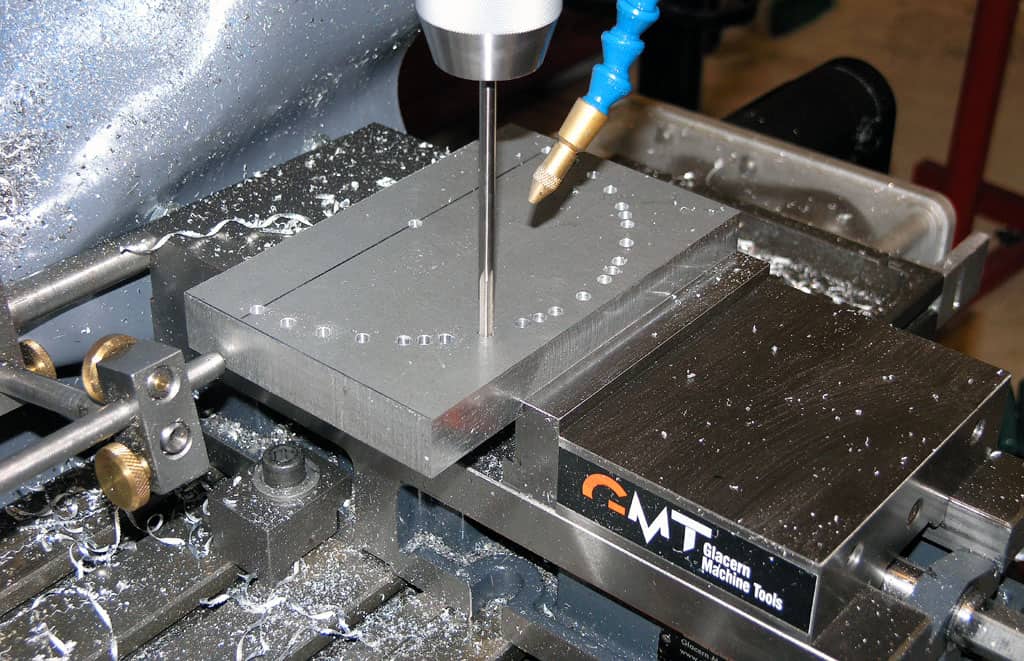
All holes were reamed...
Scrollwork Experiment
Just for the heck of it, and because it is pretty easy to do, I am going to try engraving some scrollwork on the top of the workpiece. It'll all be milled away in the finished gage, so there is no real risk here, just a little time. If I like the result, I will repeat the exercise on the actual miter surfaces that won't be milled away. Here is my artwork, done in the Rhino3D CAD program:
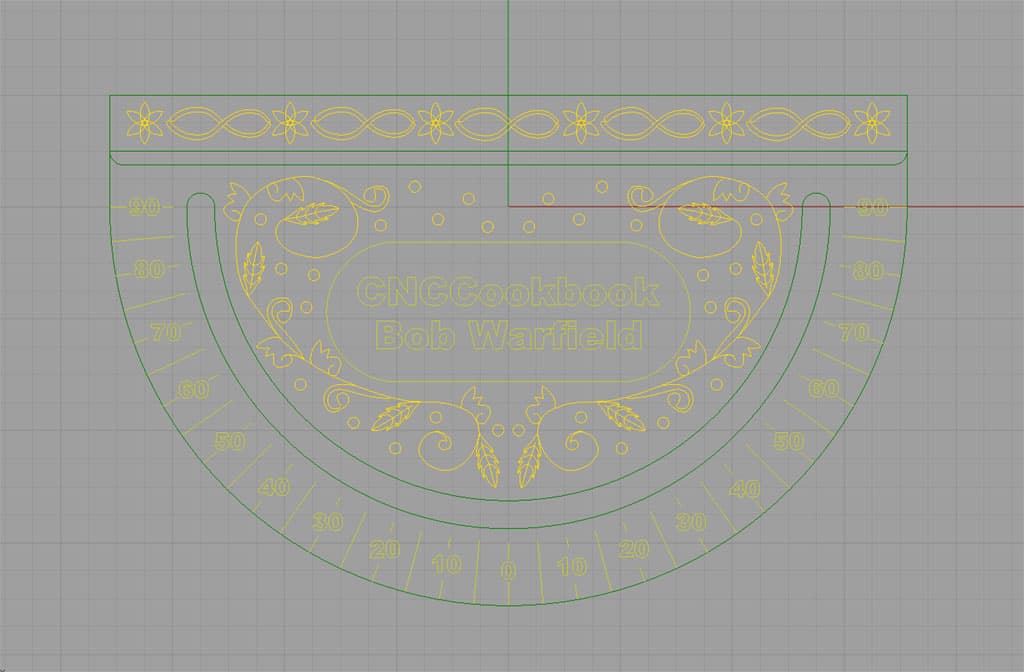
I'm going to do the engraving with a 3/16" spot drill, running at 1600 rpm and 3 IPM.
Engraving Test G-Codes
Profile the fence
I want to rough using my 5/8" Iscar Helimill insertable endmill. This is an APKT inserted endmill that should do a nice fast job. I will then finish with a new sharp 4 flute 1/2" endmill. I don't need to worry about chip clearance for this profiling job, and my spindle only goes 1600 rpm, so having the extra flutes will yield a better surface finish.
In terms of toolpaths, I will run the following as a roughing pass for the 5/8" Helimill:
- Material Top: Z = 0.0"
- Max Cut Depth = 0.550"
- Rapid Clearance = 0.2"
- Rough Depth = 0.100" per pass (G-Wizard says that 0.294 HP)
- Feeds and Speeds = 1600 rpm, 22 IPM, 11 IPM plunge
Since the top of the fence is not being milled, I will make a manual pass with my 45 degree face mill with a real light cut and slow feedrate to make it pretty and true.
Here is what that roughing toolpath looks like in OneCNC:
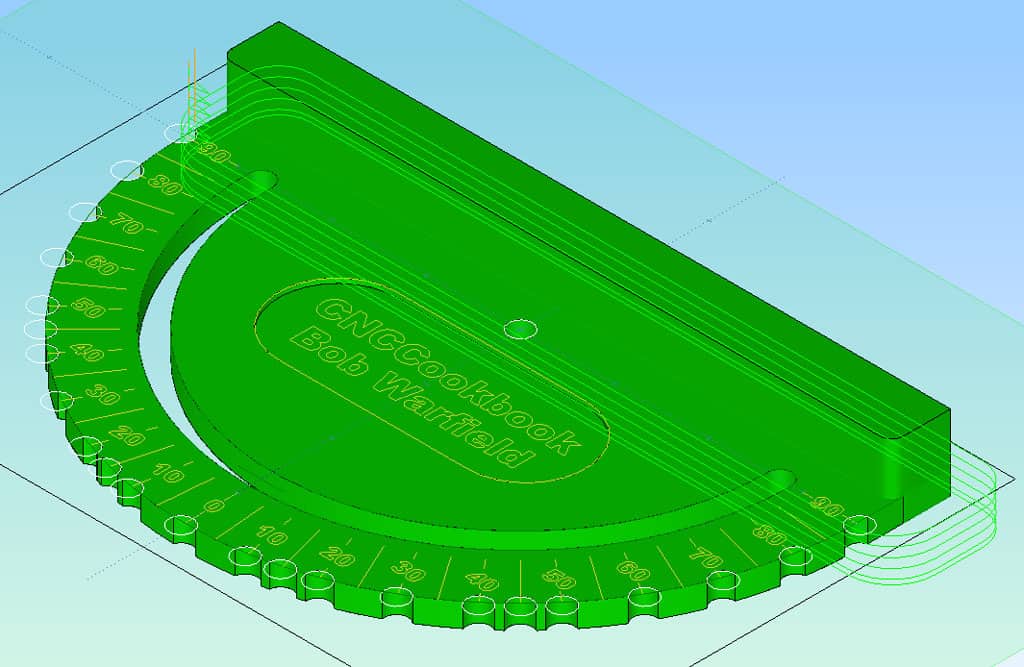
G-Code for Fence Roughing
The finishing pass is going to be the full height of the fence without any step down, because that will leave a nicer finish. I'll be taking an 0.015" depth of cut, which means radial chip thinning is in play. I can run a theoretical 92 IPM with a 3 flute HSS endmill because of the chip thinning, but I am going to slow that down to about 60 IPM to create a better finish.
G-Code for Fence Finishing
Profiling the Protractor Outline
We will begin this task by facemilling 0.550" off the protractor taking care not to run into the fence. Since we did the fence pass with a 5/8" endmill with a finish allowance, we have at least a 5/8" slot. I'll set the facemill so the edge is at the edge of that slot. Given the 45 degree angle of the insert, that means that by the time I get down to the bottom of the 0.550" I must remove, my insert will be 5/8" - 0.550" from the fence, or about 75 thousandths. Close, but not painfully so if I am careful!
Using my Rhino3D drawing, I overlaid the facemill and the 5/8" Helimill's footprints on the protractor to see what path I needed to put the facemill on:
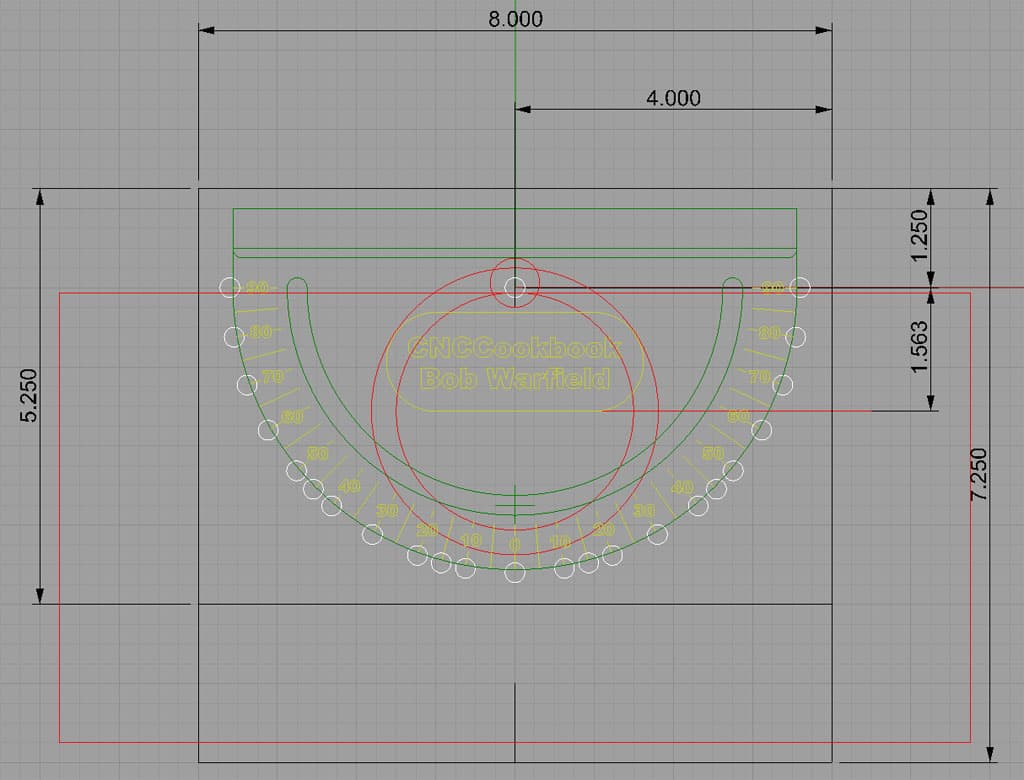
The red circles represent the 5/8" helimill at top and the 3" facemill (inner big circle is 3", outer is the addition clearance for the 45 degree inserts). The red rectangle is the region to be cleared by the facemill...
The drawing tells us the facemill can come reasonably close while staying within the slot cut by the 5/8" Helimill and leaving clearance for the fence. It takes 2 passes of the facemill at each depth level. I can use a 1" stepover to pick up the lower half. Feeds and speeds for the facemill will be 1229 rpm / 72 IPM. This is with a depth of cut of 0.020", and G-Wizard says I'll be using close to 1 HP. The facemill passes will be 8" long plus overhand, and Y will be -1.563" (the dowel pin is the 0, 0 datum). To generate g-code for this in OneCNC, we simply give it the red bounding rectangle and ask for a facing operation. Starting with Z = 0, I will be stepping down 0.020" per pass.
Protractor Facing G-Code
Side Project: Blade Base Plate
G-Code
Be the first to know about updates at CNC Cookbook
Join our newsletter to get updates on what's next at CNC Cookbook.