What does it take to transform a concept into a stunning CNC 3D carving? With the right tools and knowledge, you can engrave intricate designs and elevate your craftsmanship to new heights.
Our guide cuts to the chase, providing you with insights on selecting equipment, utilizing design software, and executing intricate carvings with precision—everything you need to convert your ideas into remarkable CNC 3D carving art.
Key Takeaways
- CNC 3D carving is a meticulous process that transforms a variety of materials into complex three-dimensional objects through a series of programmed cuts, requiring both software and machine precision.
- Choosing the right CNC machine involves considering factors such as budget, size, features, and the intended use, with hobbyist CNC mills offering a scalable and affordable entry point for beginners.
- The design phase for CNC carving is critical, requiring software like Vectric Aspire for crafting detailed 3D models and CAM tools to convert these models into carvings, alongside proper material preparation and finishing techniques for high-quality results.
Exploring the World of CNC 3D Carving
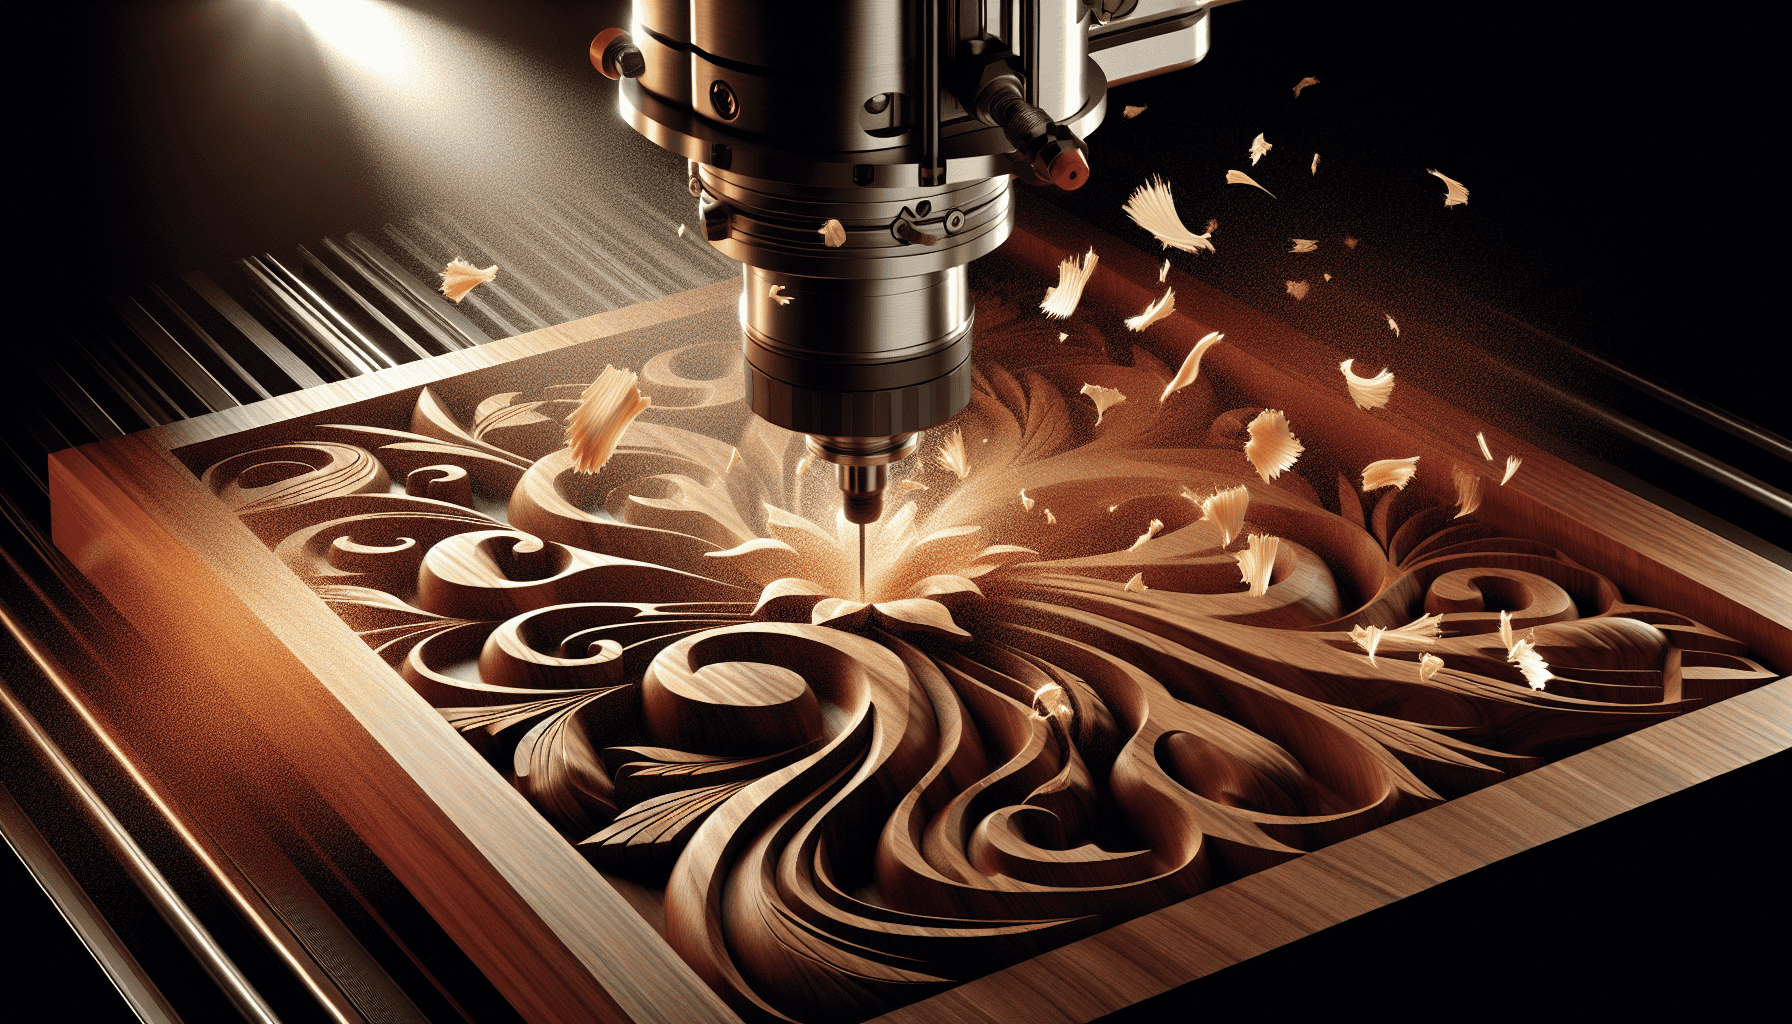
Imagine a world where your creative visions come to life with the push of a button. CNC 3D carving is that magical realm where technology meets craftsmanship. This domain features a computer-controlled machine tool that meticulously subtracts material from a workpiece, thereby bringing your three-dimensional designs to life. Wood, plastic, foam, and even metals bend to the will of the carver, offering a canvas as versatile as the imagination itself.
The transformation of a solid block into a detailed sculpture involves a series of roughing and finishing cuts. Each stage is carefully orchestrated to bring your envisioned masterpiece to life.
Choosing Your CNC Machine for 3D Carving
Selecting the right CNC machine for your venture into 3D carving is akin to choosing a paintbrush for a canvas — crucial for the end result. From the work area size to the intricacies of software and spindle motors, numerous factors sway the decision.
We’ll examine the factors that make a machine not only suitable but also the best fit for your carving aspirations.
Hobbyist vs. Professional CNC Machines
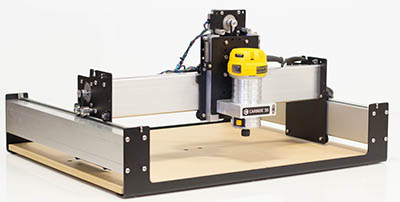
Shapeoko Desktop CNC Machine...
For beginners and enthusiasts, hobbyist CNC mills, with prices ranging from $1,500 to $22,000, offer an affordable gateway into the world of carving. These machines pack a punch with features like zero-backlash ball screws and powerful motors, rivaling their professional counterparts in precision. The true beauty lies in their scalability; as one’s skills flourish, these machines continue to deliver, with some even boasting automatic tool changers.
Starting with a desktop model is a cost-effective method that also serves as an excellent stepping stone to acquire the expertise needed to handle larger, professional-grade machines.
Here at CNCCookbook we're big fans of the Shapeoko Desktop CNC Machine. It can indeed serve as an excellent stepping stone for learning the craft of CNC 3D Carving.
Machine Size Matters
The adage “size matters” rings especially true in CNC carving. The dimensions of a machine should be compatible with your project’s requirements. For example, to craft full sheets of plywood, you would require a machine with a work area of at least 4×8 feet. A balancing act ensues, as larger machines entail higher costs and consume more workshop space, potentially reshaping your creative environment.
Yet, for those carving on a smaller scale or with space constraints, the compact and versatile nature of hobbyist CNC mills can fit the bill perfectly, offering a sweet spot between power and footprint.
Essential Features for Precision Carving
Precision in carving is not just about having a steady hand — it’s about the synergy between the carver’s intent and the machine’s capability. The type of spindle your machine wields can make or break the level of detail you can achieve, with different materials necessitating particular spindle specs. Stability and power, hallmarks of heavier machines, translate directly into the precision and longevity of your carvings.
Moreover, we shouldn’t neglect the importance of software. Being able to download and export 3D models in the STL file format is vital for accurate carving.
FREE FEEDS & SPEEDS MASTER CLASS: Learn What the Experts Know >
Designing for CNC 3D Carving
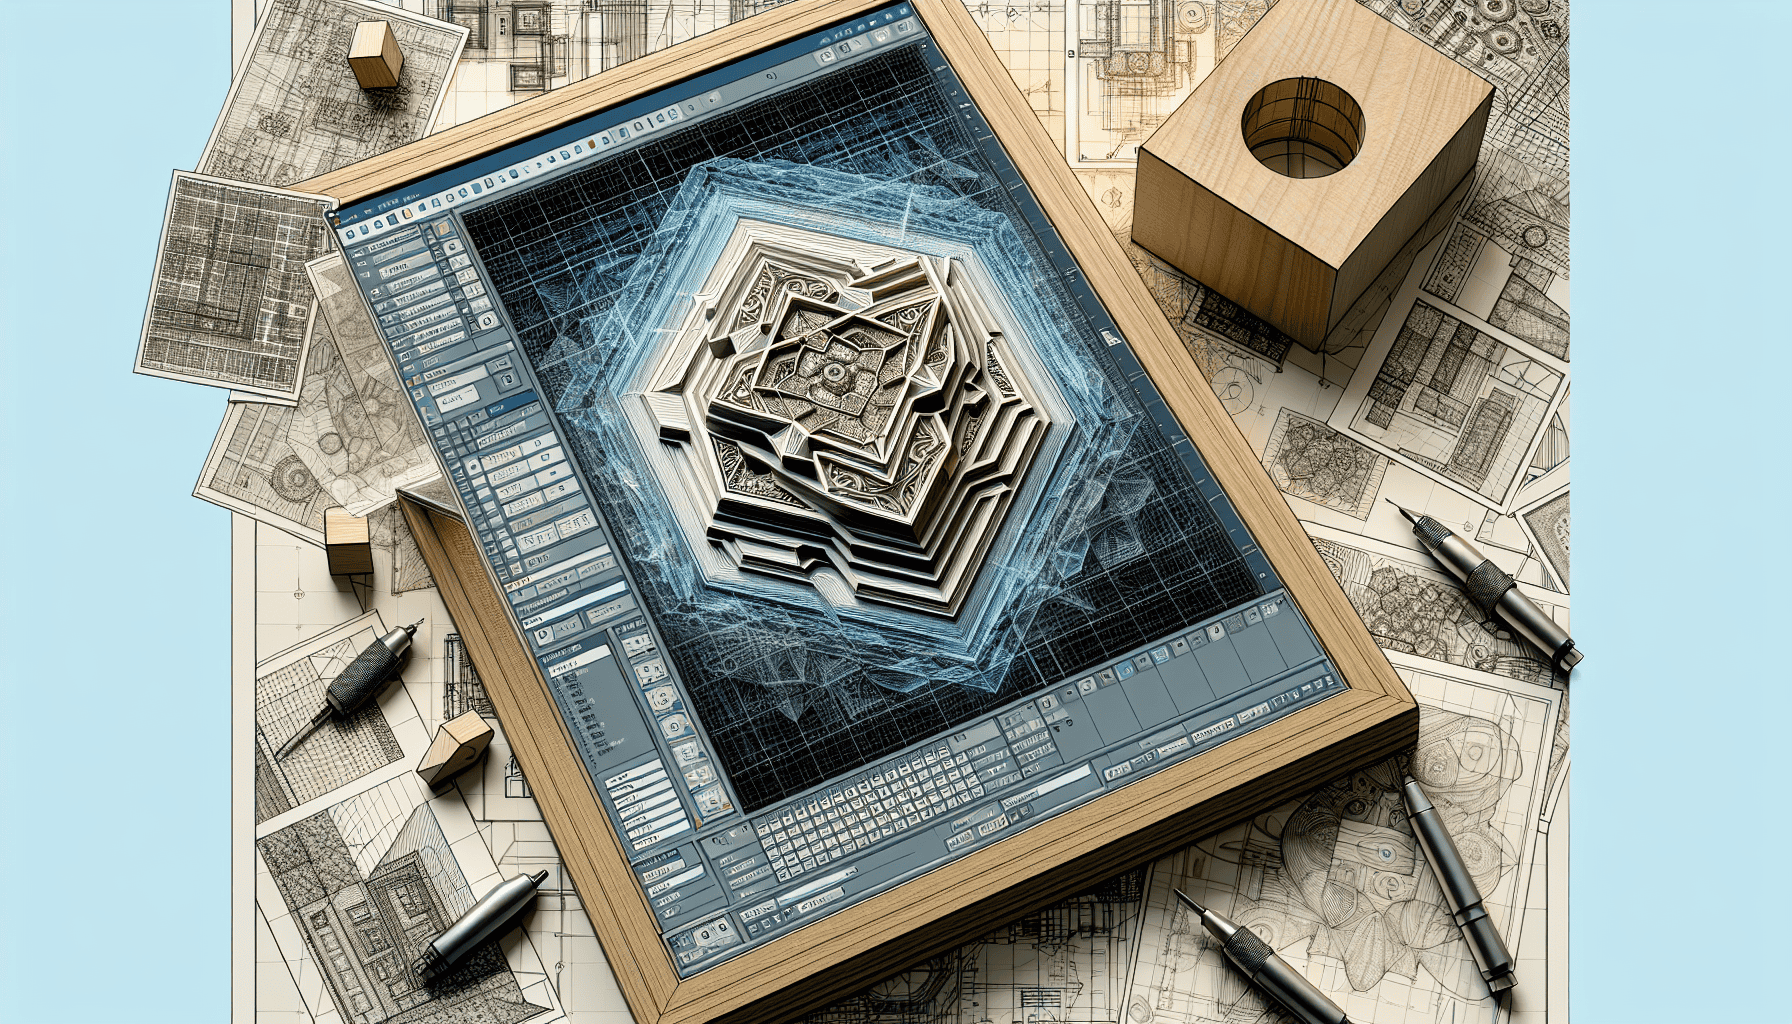
The alchemy of CNC 3D carving begins with design — the genesis of all creations. Whether it’s a digital image morphed into a 3D model or a photo transformed into a vector file, software like Vectric Aspire or Fusion 360 breathes life into your concepts and helps you create. Even free tools like Blender and TinkerCAD have a seat at the table, democratizing design and opening the doors to endless customization.
From Concept to Carve-Ready File
Transmuting a digital design into a carved reality is a journey from the abstract to the tangible. CAM software serves as the bridge, allowing the carver to adjust scale, depth, and even the material dimensions, ensuring the final file is perfectly attuned to the project’s needs. Fusion 360’s Image-2-Surface script, for example, is a wizard’s tool, transforming 2D images into 3D surfaces where even grayscale values find depth and form. However, it’s essential to acknowledge the limits of technology. Keeping the image resolution below 300×300 pixels guarantees smooth software performance.
Utilizing Vectric Aspire for Design Perfection
When it comes to CNC routing, Vectric Aspire is the artisan’s choice. It offers not just the ability to cut existing models but to originate intricate 3D reliefs, setting it apart from its peers like VCarve.
Its streamlined workflow simplifies complex tasks, making it a preferred choice for relief-style designs, a common characteristic of exquisite carvings, easily fitting into your creative pocket.
MeshCam is Perfect for Beginners
Taking on industrial grade software like Fusion 360 or Vectric Aspire means biting off a big learning curve. Sometimes it is easier to start with a less ambitious and much easier to learn package. That's where MeshCam really shines. I've called it the World's Easiest CAM Software, and with good reason.
Preparing Your Material for CNC Work
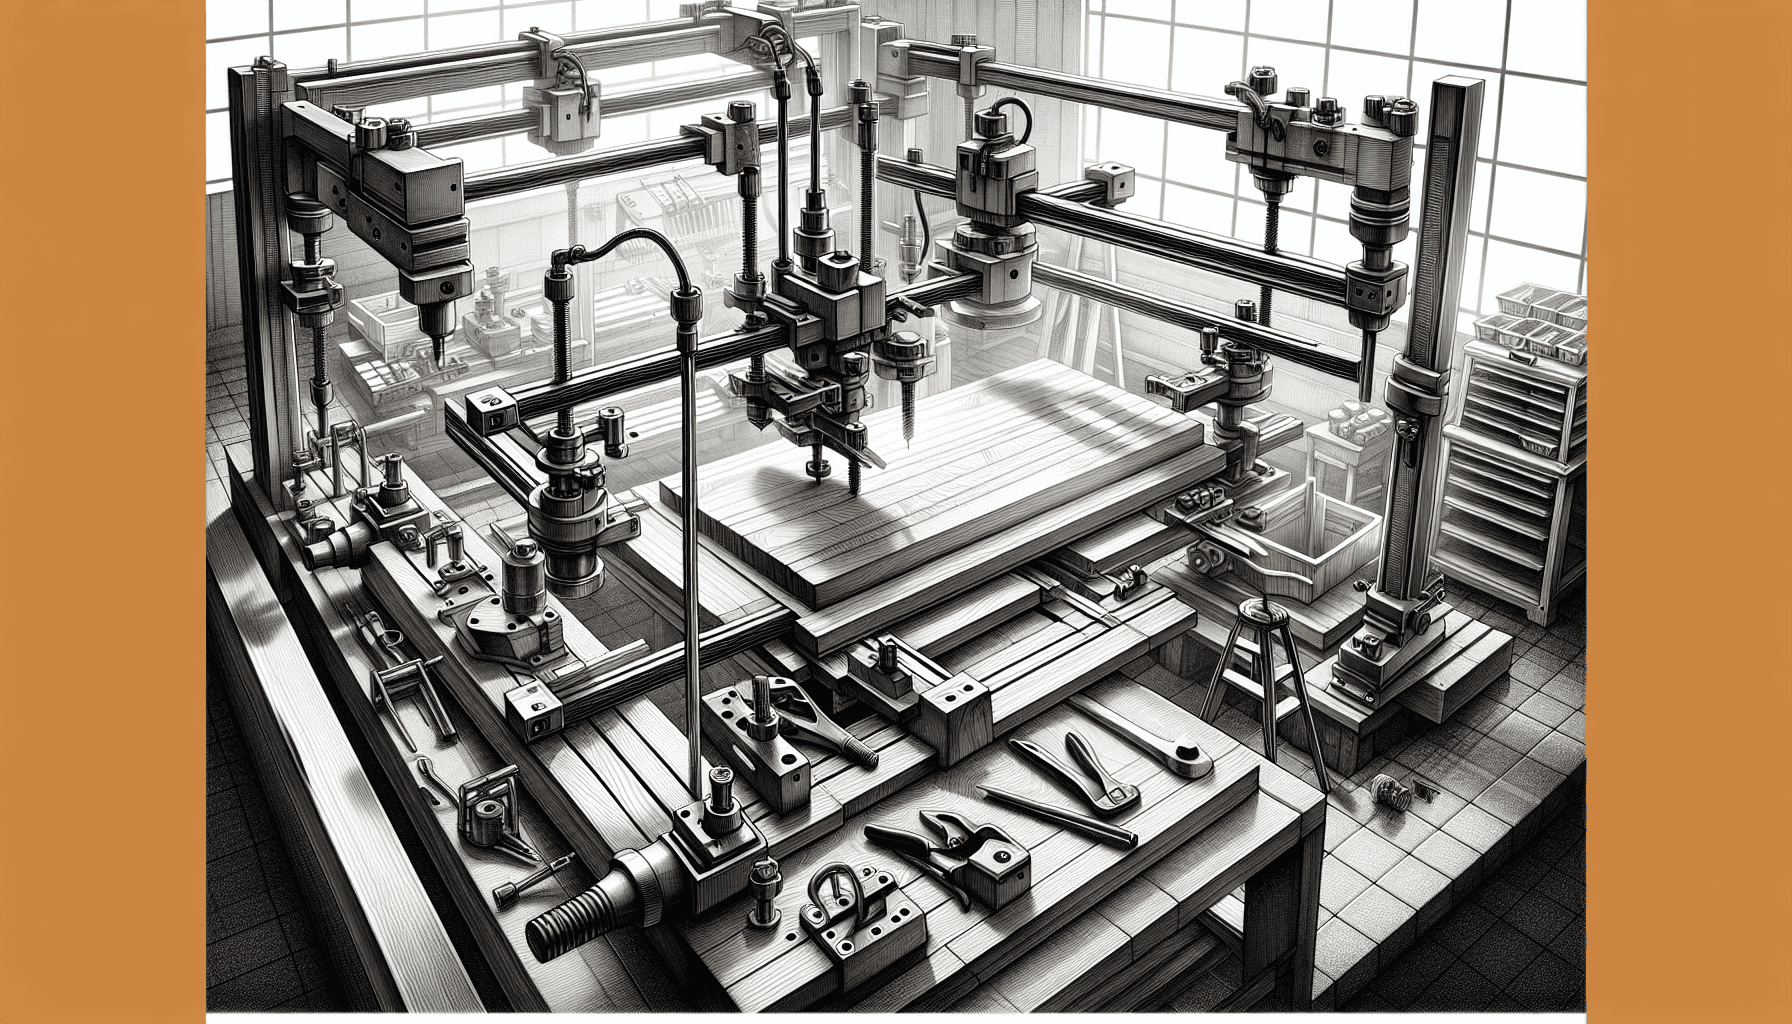
Before the machine’s whirring begins, the material itself must be primed for transformation. Securing your canvas — be it wood, acrylic, or foam — is paramount to precision. While clamps are the go-to for stability, thicker materials may call for screws, and softer ones for double-sided tape.
Check out article on CNC Router Workholding to learn how best to hold down the material you intend to carve.
Setting the work origin or part zero is akin to positioning your compass for the journey, as it provides reference points that guide the machine to carve accurately. Of course we have a great article on how to set your part zero for best results.
FREE FEEDS & SPEEDS MASTER CLASS: Learn What the Experts Know >
Step-by-Step: Executing Your First CNC 3D Carving
Venturing into your inaugural CNC 3D carving project can be as thrilling as it is daunting. Selection of bits is critical — start with a straight spiral upcut bit for roughing and transition to a ball-nosed bit for the finishing finesse. Parameters within the CNC software, such as stepover and feeds and speeds for wood, must be finessed to strike a balance between speed and the resolution of your carving.
Be sure to check our article on Stepover for help setting up these vital CAM parameters for 3D Carving.
Before you activate the machine, setting the work origin is a necessary step to ensure your carving proceeds as planned.
Finishing Techniques for CNC Carvings
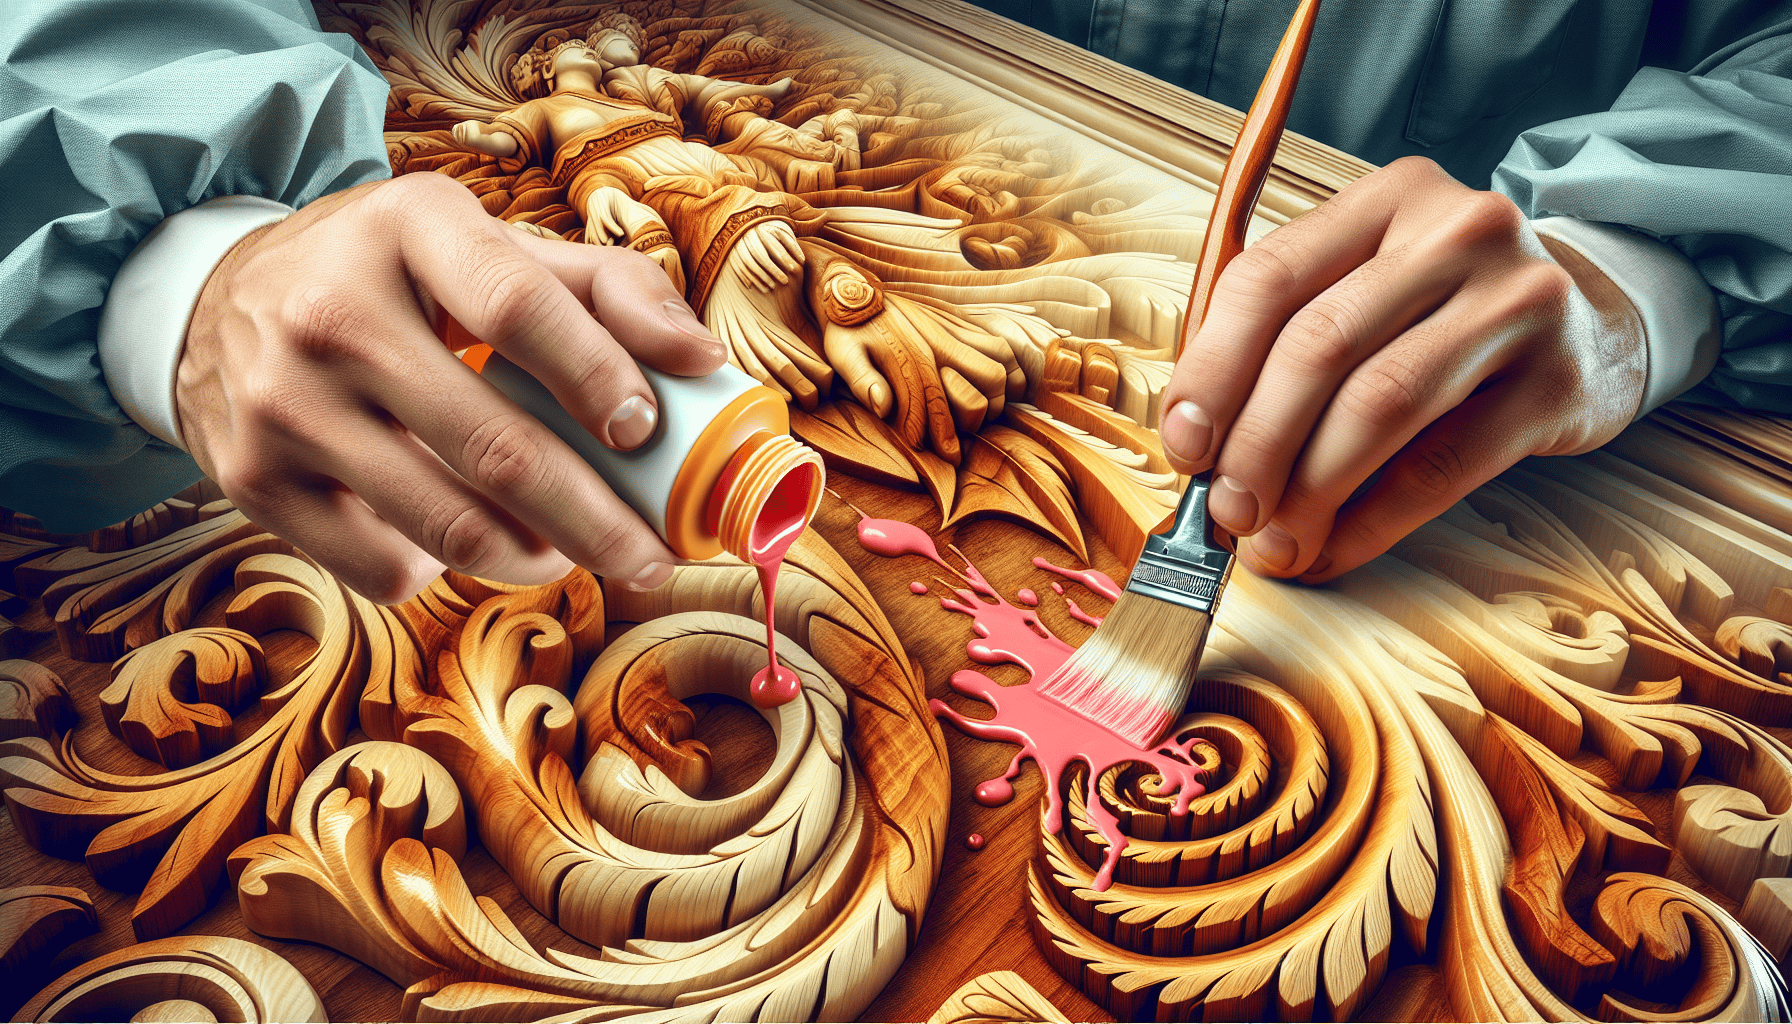
The carving process may be complete, but it’s the finishing touches that truly elevate a piece from a carved object to a work of art. Starting with a finely detailed carving minimizes the need for manual sanding, allowing the original design to shine through.
Sealants like polyurethane not only protect the material but also prepare it for the application of paints or stains, which can accentuate the carvings’ beauty. The order of your finishing steps, such as painting before carving or staining afterwards, can significantly change the final visual effect. Thus, it’s important to carefully plan your approach.
Showcasing and Selling Your CNC Creations
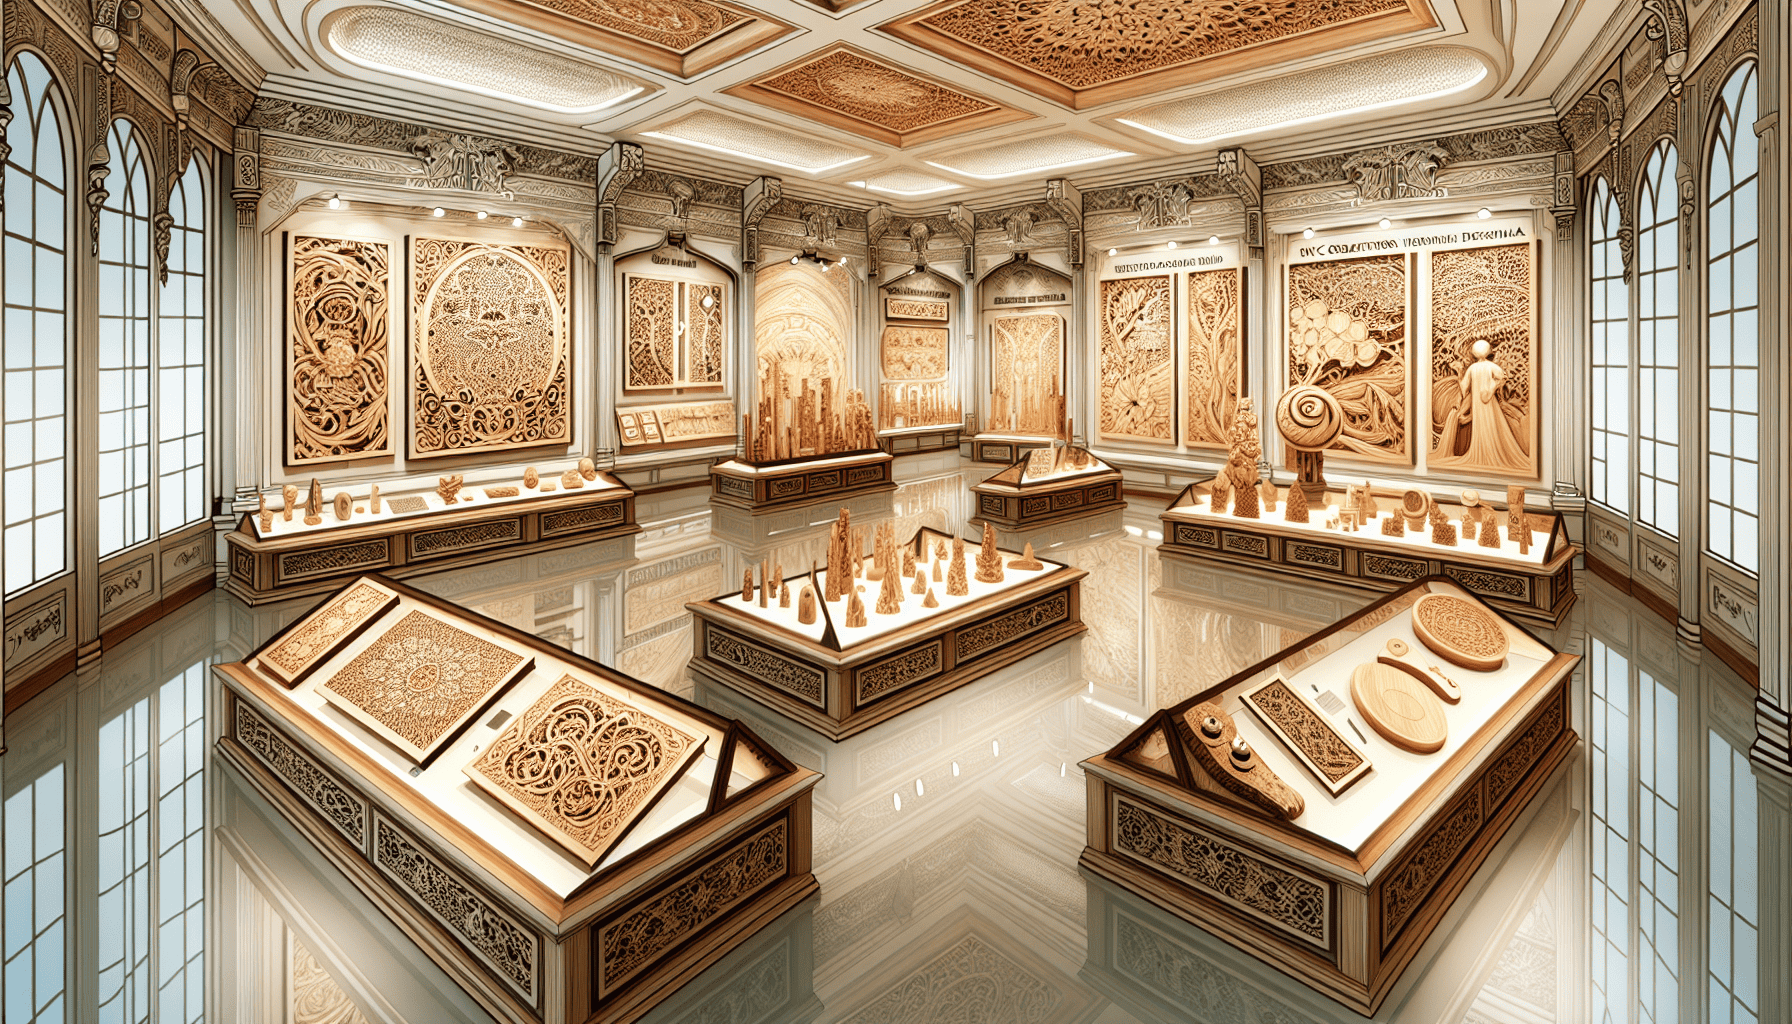
After pouring your heart into your CNC carvings, the next step is to share your creations with the world. Captivating photography is your strongest ally, transforming the tangible into the showcase-worthy. A large, well-lit space, a neutral backdrop, and a lens that captures the true essence of your work are the ingredients for photographs that can stop a potential customer in their tracks as they watch your carvings come to life.
The CNC Community: Connect and Learn
Mastering a skill is often a collective effort. The CNC community is a wealth of knowledge, filled with individuals keen to share their expertise and techniques.
Engaging with peers can unlock a world of advanced strategies and hidden knowledge, fostering a culture of continuous learning and collaboration.
Advanced Projects and Techniques
For the intrepid carver, advanced projects beckon. High-end CAD software like Solidworks paves the way for precision-controlled models essential for intricate carvings. Techniques such as hand-finishing or innovative assembly methods add layers of complexity, transforming advanced projects into awe-inspiring creations.
Embrace the challenges as puzzles, and let each solution propel you towards greater mastery.
Summary
As our exploration draws to a close, the landscape of CNC 3D carving stands vividly before us. From the initial plunge into the world of carving, through the meticulous selection of machinery, design intricacies, and the execution of carvings, to the final art of finishing and presentation, each step is a testament to the carver’s skill and vision. May this guide serve as your compass in the vast sea of CNC carving, steering you towards uncharted territories of creativity and precision.
Frequently Asked Questions
What materials can I use for CNC 3D carving?
You can use a variety of materials for CNC 3D Carving including wood, plastic, foam, and some metals. Happy carving!
Do I need professional CNC equipment to start carving?
You don't need professional CNC equipment to start carving. Hobbyist CNC machines are cost-effective and capable of producing high-quality carvings, making them great for beginners.
Can I use free software for CNC design?
Yes, you can use free software like Blender and TinkerCAD for CNC design. These options are effective for creating 3D models for carving.
How do I ensure my carving has high detail without spending a lot of time sanding?
To achieve high detail without spending a lot of time sanding, let the CNC machine handle the carving work to minimize the need for manual sanding. This can help preserve intricate details effectively.
Is it possible to combine different finishing techniques on the same piece?
Yes, it is possible to combine different finishing techniques on the same piece, but the order of application will impact the final look. Be mindful of the visual outcome you want to achieve.
FREE FEEDS & SPEEDS MASTER CLASS: Learn What the Experts Know >
Be the first to know about updates at CNC Cookbook
Join our newsletter to get updates on what's next at CNC Cookbook.