I get asked all the time by beginners, "How can I learn about fixturing? How can I pick up all the neat tricks experienced machinists know?"
My answer is that encourage them to always be on the lookout-scrutinize every photo when they see a thread on a forum about some project to see what tricks and fixtures can be found. Here are 8 examples I pulled from a nice HMEM (a wonderful little board dedicated to building model engines) thread on building a beam engine. I find project build logs are some of the best places to pick up inspirations. So don't just blast past one because you would never want to build what they're building. Dig into the article and see what you can learn about how they built it.
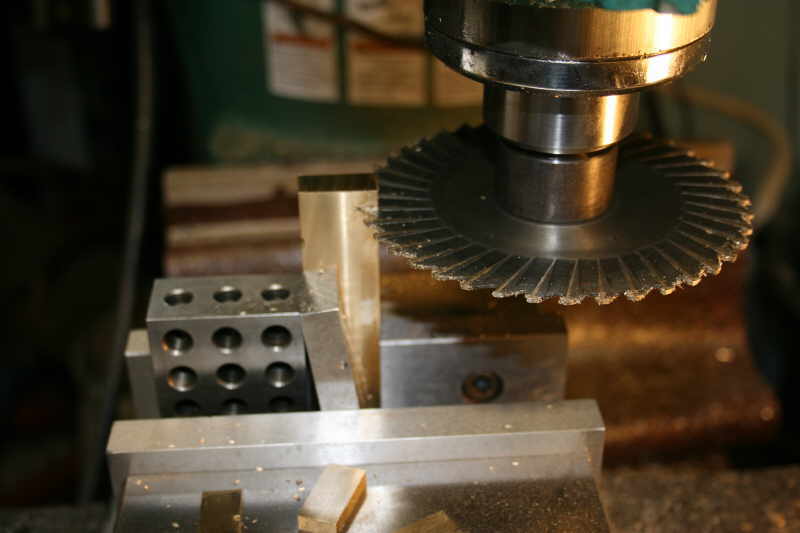
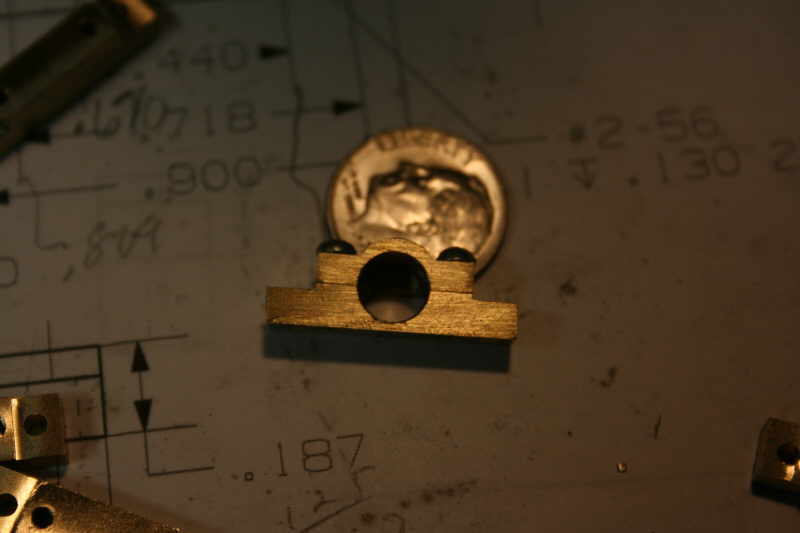
1. Stack Parts to Make Them All Come Out the Same
You haven't provided any text for me to rephrase. Could you please provide the text you'd like reworked?
This is an old manual machinist's trick. CNC'ers often don't think of it because they're willing to let the CNC grind out the parts repetitively. But stacking still has some advantages. For example, you'll use less space on your table than laying all the parts out on their own. Stacking can also help minimize the burr when a twist drill comes out the bottom of the part. The stacked part hole edge is supported by the part underneath.
Aside from stacking, check out some of the other things we see in this photo:
- Using twist drills as precision pins to keep the holes aligned so the parts won't slide relative to one another.
- Miniature Fixture Plate inserted in the milling vise is convenient to work with.
- Kant-Twist clamp helps keep the stack together. You can never have too many Kant-Twist clamps laying around!
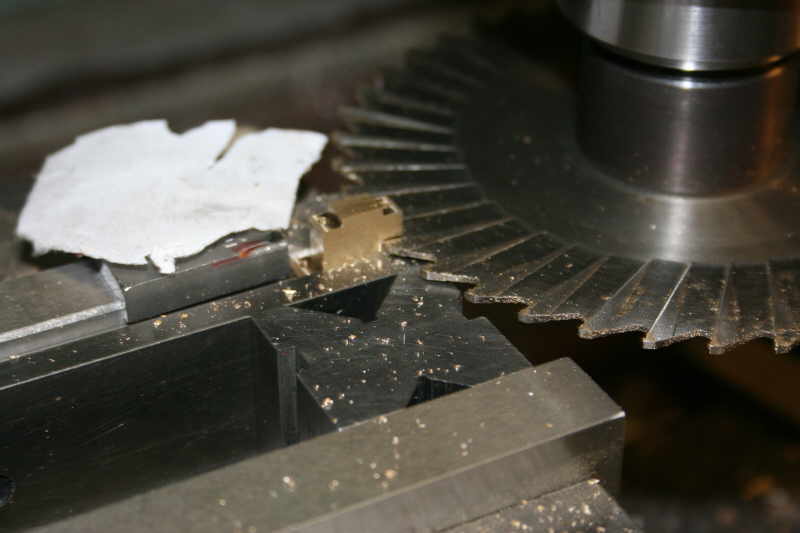
2. Support Parts as Close to the Cut as Possible
That part is surrounded!
He's got that part surrounded! This is a tough cut with the saw because it's a tall skinny piece that will want to vibrate like a tuning fork. I think I'd have sandwiched it between 1-2-3 blocks and stood the blocks on something so very little stock protruded. Doing whatever you can to maximize rigidity with awkward parts like this is crucial to success. Slitting saws are finicky enough and a bit scary to run, they need all the help they can get!
Speaking of which, if you are planning to work with one, check out our Complete Guide to Slitting Saws Article.
3. Not Too Much Contact
Depending on what you're doing, less contact is more. It always seems reassuring to have as much contact as possible, but big flat surfaces have to be aligned to maximize their contact and they provide that much larger a target for a chip to land on and upset the accuracy of the setup. Sometimes less contact is more, particularly if you just want to apply pressure to another surface that will do most of the work. Consider this setup:
First, the part is really held tight. It's trapped between the rear fixed vise jaw, a work stop attached to that jaw, and a big thick parallel. Now for less contact being more, checkout the V-Block. It's just there to transfer force to that parallel. The "V" openings do no harm and in fact are helpful in providing less area for a chip to get in the middle and do harm.
4. Form Cutters Can Be Handy
Form cutters are another old-school trick. The idea is to grind your own cutter with a custom shape (or form, hence the name). Creating a custom radius in this way is common. CNC'ers may just profile out the shape with a standard cutter and a toolpath that creates the shape. But, if you're setup to create a custom form cutter, it might save even a CNC job some time. In this example, the form cutter is being used as a Fly Cutter to create a nice radius on top of the bearing block. It would be pretty hard to get that sharp corner with CNC. You'd need to 3D profile the thing-can't lay it on its side and get into that sharp radius. Then you'll wind up having to do a little hand sanding to blend the 3D profile scallops. By the time you do all of that, you could've used a form cutter.
You'll be surprised at how useful a custom form cutter can be from time to time. When you make one, keep it in your toolbox. It'll be handy somewhere down the road.
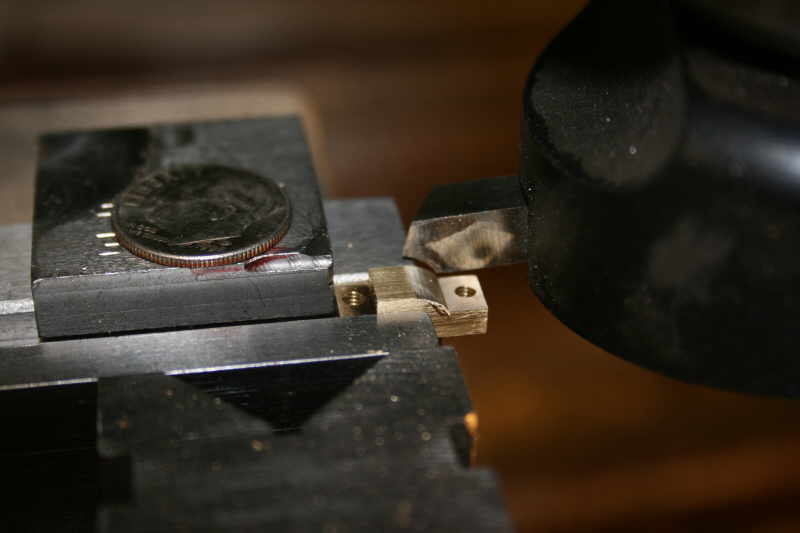
5. Quick And Dirty Softjaw Substitute
You've got a part that has a surface you need to clamp in your vise that's neither flat nor square. The usual CNC solution is to make a custom softjaw that is the "negative" of the shape you need to grip. That works great, but it is a fair bit of trouble. I loved this quick and dirty substitute:
Quick and Dirty Softjaw Substitute...
Made this little boring job easy...
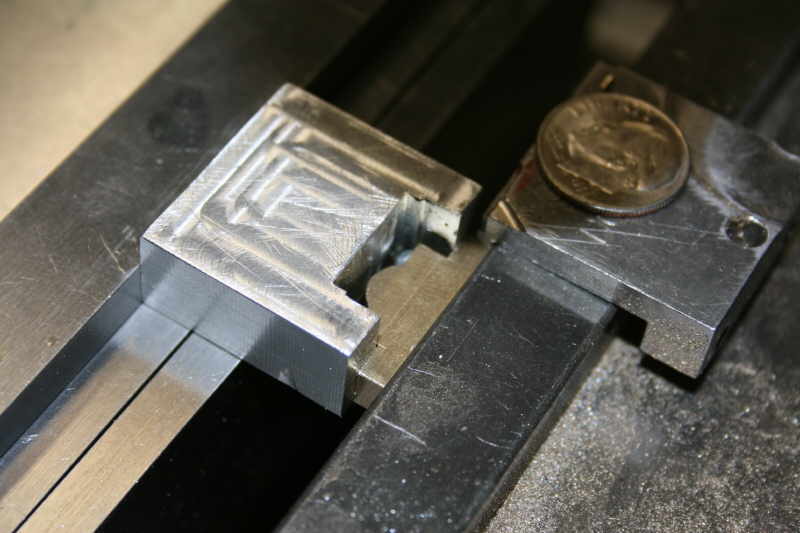
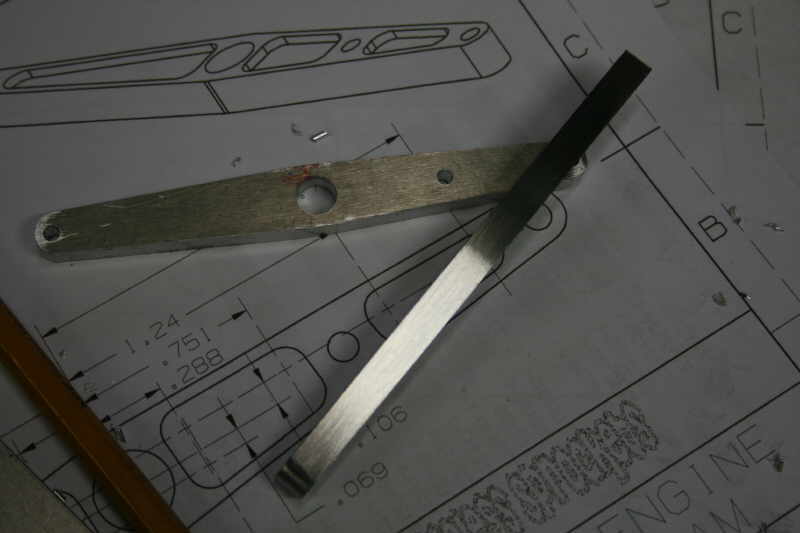
6. Different Sized Pins to Rock a Tapered Cut
As a CNC'er, most of us would see these tapered beams and think of laying them flat so we can run a profiling toolpath around that outline:
That's entirely doable, nothing wrong with it. We've even got some holes we can use to clamp down the part with some bolts. But we will have to make up a little fixture plate before we can do the work. This machinist had a better idea. He uses two center drills of different diameters to set the beam up at an angle in his vise. He can then buzz the top off and get a nice taper:
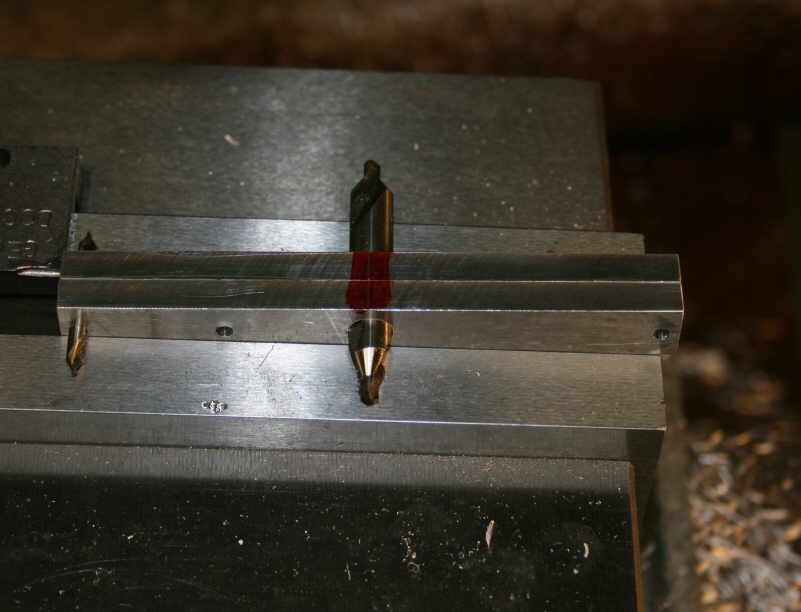
I'm not saying either way is right or wrong, just that there are always options to consider. Particularly when you're only making a very limited number of some part, getting on with the job using a method like this might save you some time. If you're a manual machinist, you can't contour the part very easily anyway, so a method like this is your best option.
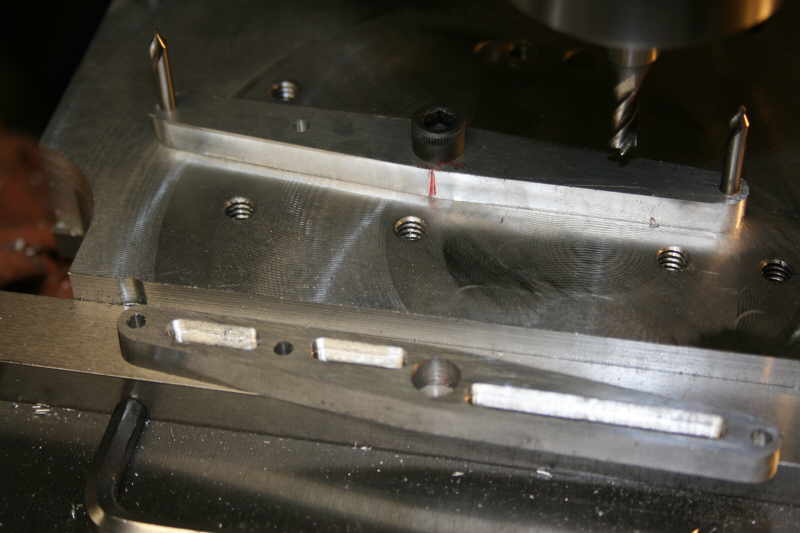
7. More Cutters-As-Dowel Pins and Vise-Top Fixture Plate Work
Finishing out some decorative lightening holes in the beams meant fixturing the beam down. A couple of center drills as locating pins and a socket head bolt to hold the part down and we're off and running. Once again, minimalism, a handy toolkit including the vise-top fixture plate, and we're on our way to finishing a job without requiring any custom fixtures.
Conclusion
There's something to be learned or at least admired in most project logs, particularly where experienced machinists are at work. Take advantage of it by being your own detective. Pour over the photos and take note of what's been done. On your own projects, don't just take the first idea that comes along. Think back over the other techniques you've seen and ask whether there isn't one there that might save you a little trouble. Very often there is!
Be the first to know about updates at CNC Cookbook
Join our newsletter to get updates on what's next at CNC Cookbook.