I came across an excellent recommendation by Ray Livingston on the CNCZone for creating keyed fixtures. Numerous individuals will recognise the practice of keying a vice, which includes installing a key on the vice's base to enable you to position it on the table in the identical manner every time, thereby ensuring that it's trammed and good to go. This innovative suggestion is aimed at implementing extremely simple keying of arbitrary plate fixtures ideal for milling.
Ray makes his fixtures on aluminum plate and just installs a couple of socket head cap screws on the underside to act as keys that locate the fixture against the table's T-slot. Nothing about the bolts needs to be accurate because the emphasis is on repeatability. Even there, the fixture makes use of a probe or edgefinder to locate its precise position.
Let's walk through an example where Michael Hackney uses this approach to create a fixture for manufacturing his custom fly fishing reels:

First step is to drill and tap for the SHCS locator "keys"...
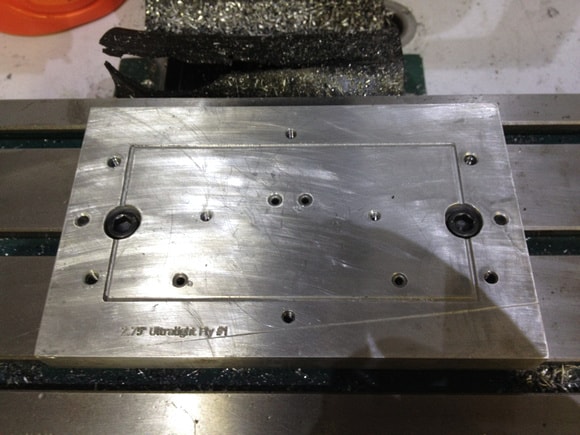
Flip the plate, align the keys to the T-slot, and it is time to drill and countersink so we can use 2 more SHCS bolts and T-nuts to hold the fixture down...
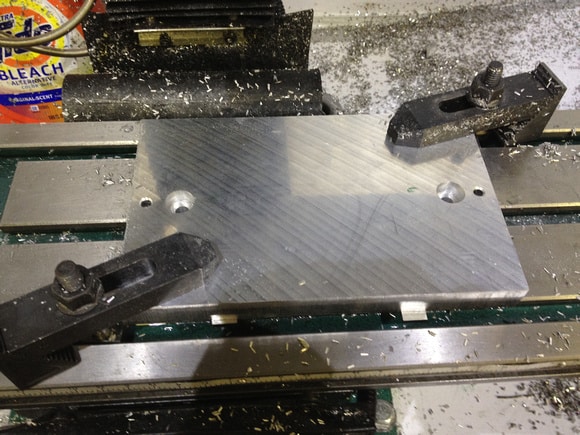
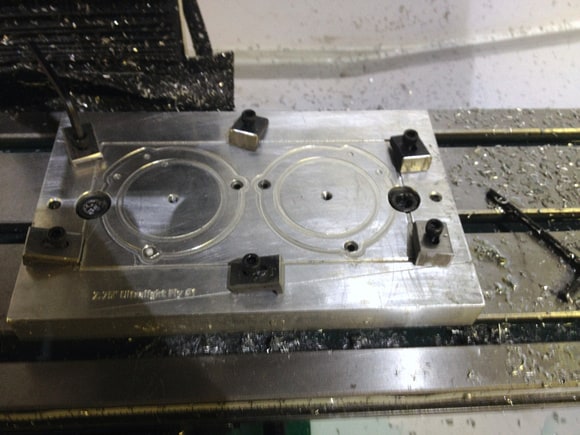
Here's the finished fixture in position and ready for use...
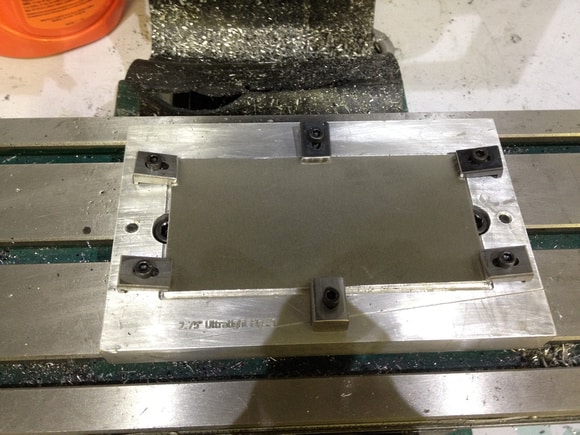
Got a plate of the raw material clamped down...
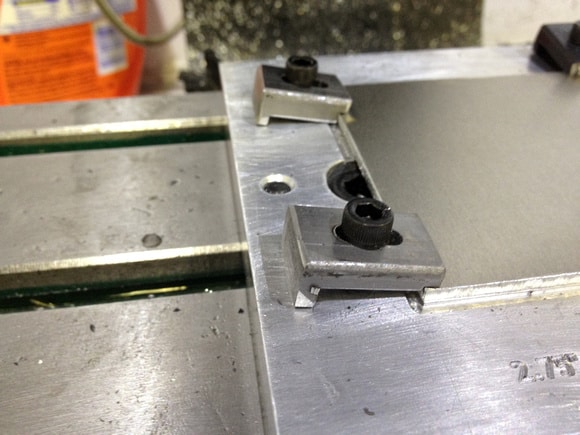
Michael uses these little fabricated clamps to hold the material, but there are many different ways you could go about holding it...
Work in progress...
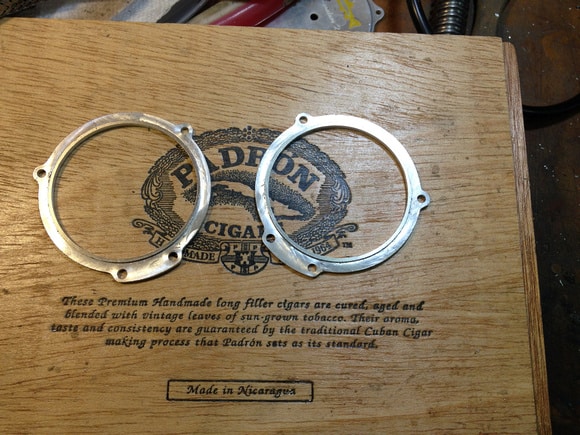
Finished parts...
One more important detail: as soon as the keys are in place and the fixture plate is flipped, a finish pass is made along the left and bottom edges. Those edges can now be probed or located with an edgefinder to identify part zero-the lower left corner of the fixture. With a probe and the right programming, this can be done very quickly and automatically. You could even choose to use the two edges to remove any twist because the T-slots aren't exactly aligned with the axes. Just measure how far out they are from horizontal and vertical and do a coordinate rotation on the program before running.
What's neat about the idea is it is super simple to do and results in fixtures that can be put into action on the machine very quickly. Michael reports he's made a couple hundred parts with his and will shortly deployed a much larger fixtures that handles parts 12-up instead of 2-up.
Be the first to know about updates at CNC Cookbook
Join our newsletter to get updates on what's next at CNC Cookbook.