Deliverable: Inspected Parts, Ready for Finishing
Manufacturer Quality Control involves Part Inspecting. This is a process of actually checking parts to make sure they meet the tolerances and specifications that are required.
In some cases, we may do some of these inspections while the part is running, and adjust the machine during the run so it can hold tigher tolerances. That's called in process inspection, and it is often done as follows:
1. Adjust the tool offsets to leave a little excess stock.
2. Allow the tool to machine the workpiece.
3. Measure what the tool has done.
4. Adjust the tool offsets based on the measurement so things will be spot on.
5. Rerun the tool.
6. Measure to confirm you got it right.
We might inspect while the part is running so we can stop early and rework the parts if they aren't coming out right, particularly if we're still developing the part program.
Or, having finished the CNC machining, it will be time for Quality Control. We'll inspect the parts to make sure they meet the desired specifications, tolerances, and surface finishes.
1
Part Inspection by the Machine Operator ▶
Deliverable: The operator has verified part tolerances and features at the machine.

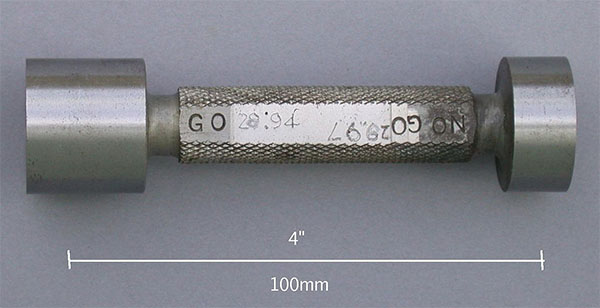
Go/No-Go Gage. One end should fit the bore (the "Go" end) and the other should be too large to go in (the "No-Go" end). Makes inspection of a bore diameter quick and foolproof.
It's very common for the operator to do various inspections on the part either while it is still on the machine or immediately after removing it from the machine. Simple metrology tools like micrometers and go/no-go gages are commonly used. The goal is to find any tolerance problems as quickly as possible and deal with them.
2
Part Inspection via In-Process Probing ▶
Deliverable: The key features and tolerances of our part are verified via an automated probe.

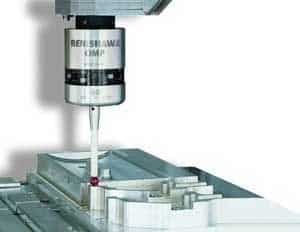
In-Process Probing is the buzzword for using an automated probe to check tolerances on a part as part of the part program. There's g-code in the part program to do the checking.
Resources:
- RAMTIC: Shows the full potential for in-process probing to not only verify part tolerances but to dramatically increase the accuracy of the manufacturing process.
3
Role of the Quality Control Department ▶
Deliverable: The Quality Control Department has verified part tolerances and features after the part was removed from the machine.

In many shops, there is an additional inspection step made by the Quality Control Department after the part comes off the machine and leaves the operator's hands. There is a science, called "Statistical Process Control" that helps determine what sorts of inspection are needed to ensure adequate levels of manufacturer quality control.
Be the first to know about updates at CNC Cookbook
Join our newsletter to get updates on what's next at CNC Cookbook.