I've been fascinated by the idea of a button v-block since seeing Ed Dubosky's elegant design in the Metalworking One book. What a wonderful way to extend the capabilities of a lathe to precision milling on tiny model engine parts!
Recently, I came upon a task that would benefit from a button v-block. As part of a Team Build project for Elemer's Reversible Open Column steam engine, I drew the lot of making the flywheels and connecting rods. Connecting rods and similar parts are the quintessential purpose for button v-blocks, so it was finally time to make one of my own!
This particular v-block is optimized for my connection rod project in that the diameter of the block closely matches the "skinny length" of my con rods, 0.780" in this case. Here is the basic geometry involved:
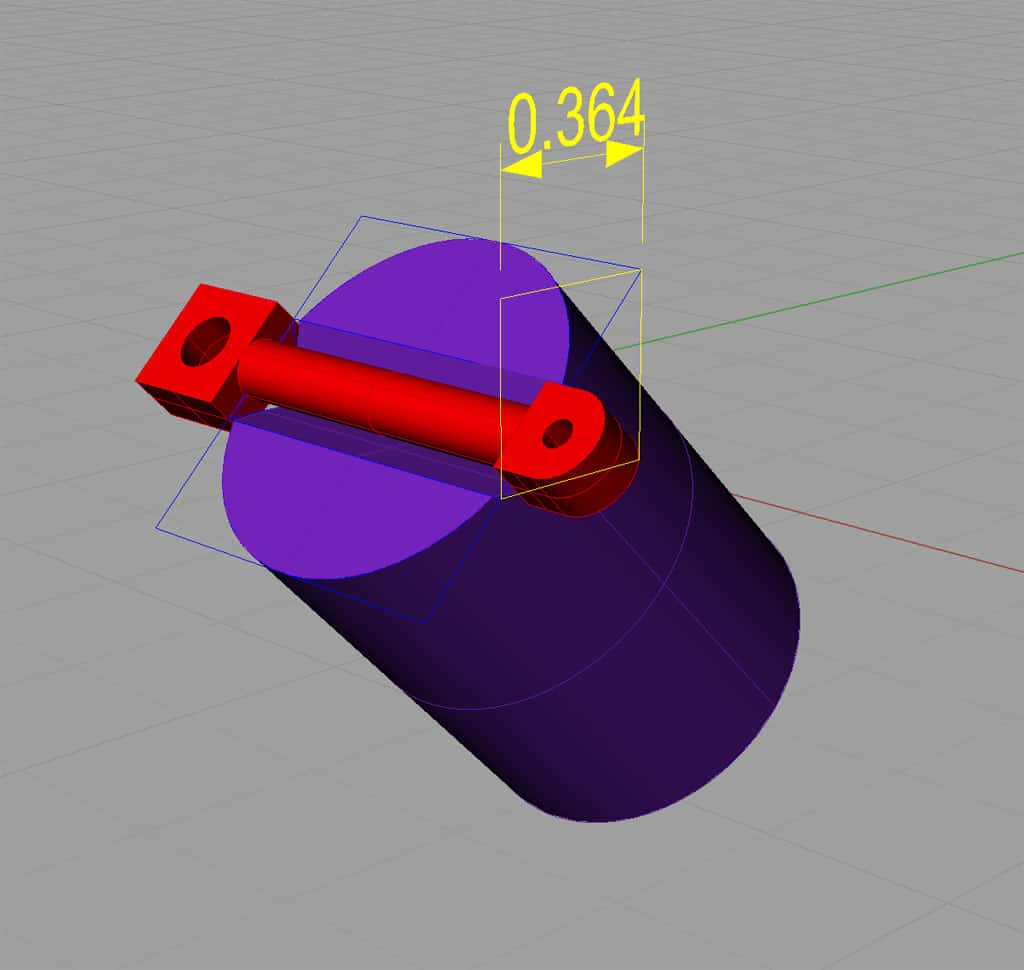
To cut the groove, secure the cylindrical blank in the vise at a 45 degree angle. I used an angle block to facilitate this. Touch off the high point on the cylinder. Now move your X-axis 0.364" from that point and the lower the Z-axis 0.364". You're now set up to cut the slot with a regular end mill in one or more passes...
Making the Button V-Block
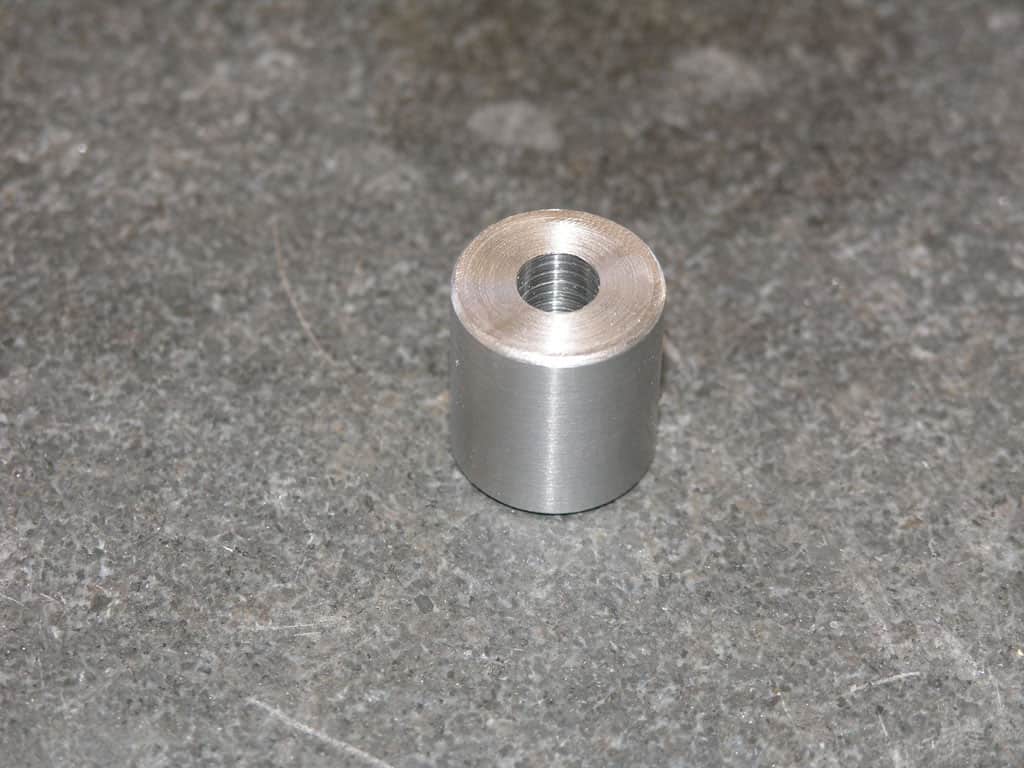
Face, turn, deburr, radius, drill, and whatever else to create your cylindrical blank. The center hole makes the block more flexible because it let's you position a larger radius on the part there as well as at either end. Make the center hole as large as possible while still leaving enough beef to support parts in the "V" and to get your clamp bolts in there...
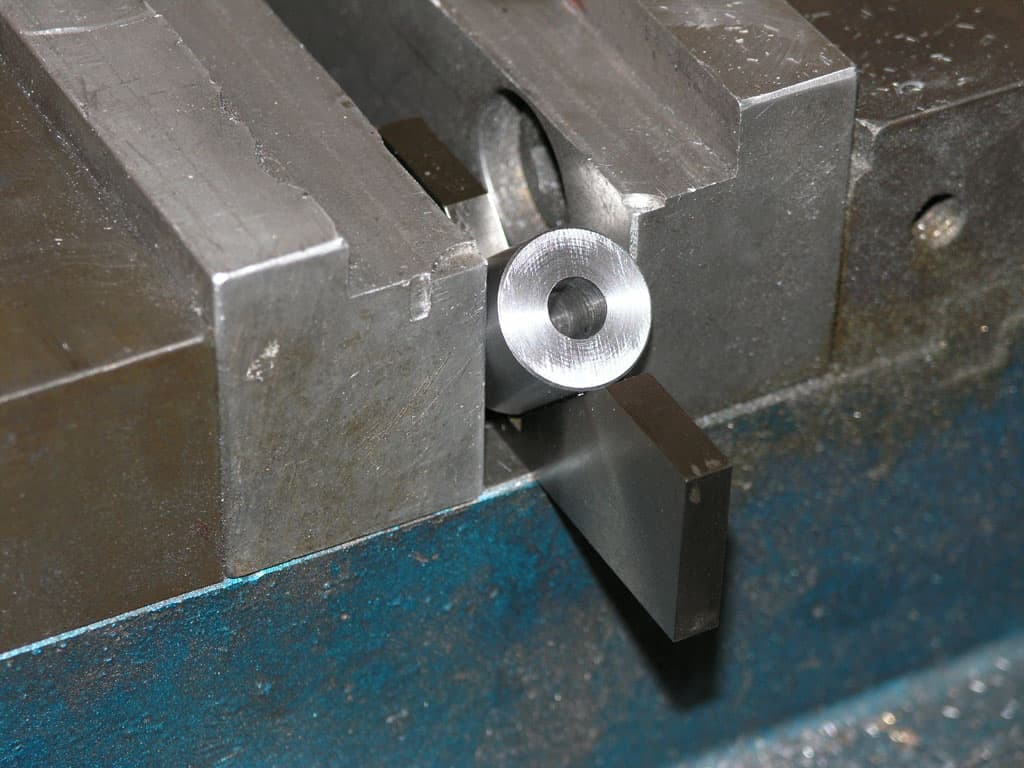
This is how I'm holding the part at a 45 degree angle so I can use a regular end mill to cut the "V". These little import angle blocks have been handy on lots of jobs!
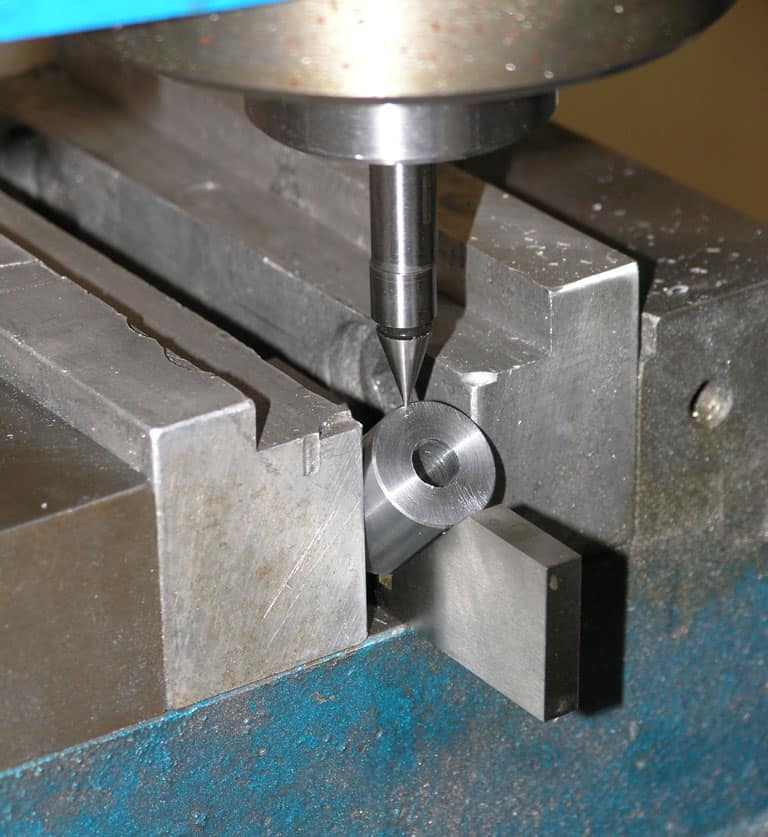
I'm using an edge finder to zero the mill's axis over the high point. There's a lot of eyeballing going on here, so it isn't super accurate, but it will do on this job...
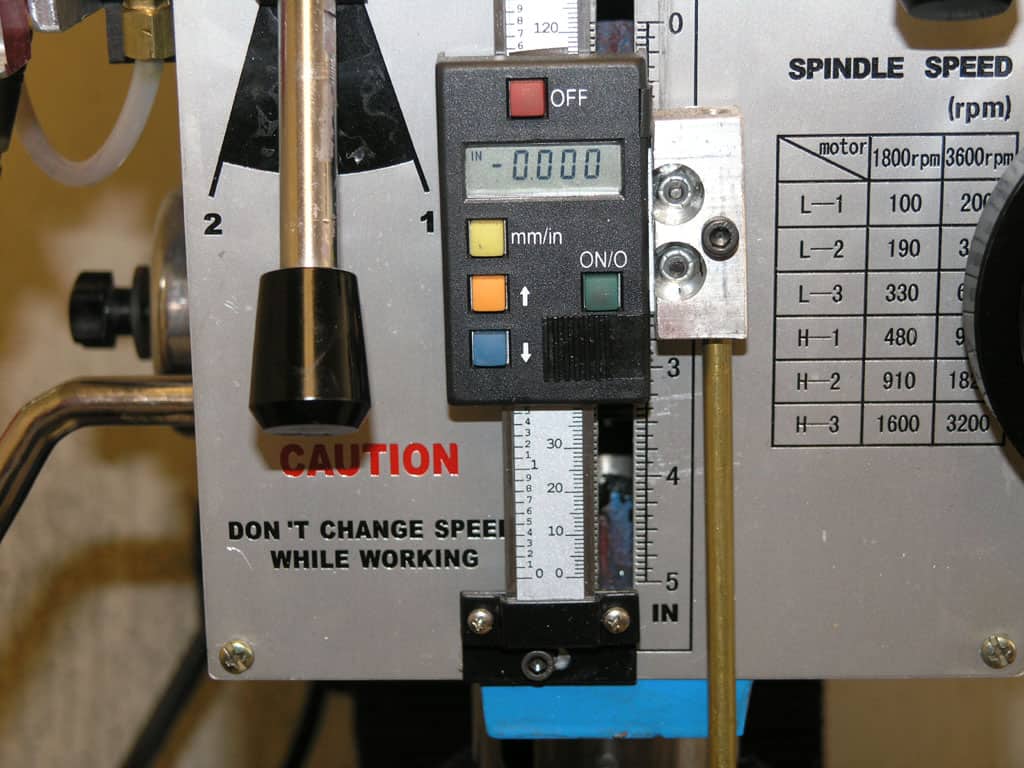
I zeroed my DRO and then cranked the Z-offset specified by my CAD drawing. Then I used my X-axis handwheel to get that offset taken care of. Remember the end mill's diameter!

I did a little "witness track" to see that my initial cut lined up with the bottom of the center hole. That center hole really helps to visually judge whether things are right. I want the V to wind up same width as the hole's diameter. This picture shows the result after several passes. I'm feeding carefully with the Y-axis and setting depth of cut with the X. I take 0.020" passes initially, but remember, every pass cuts more material as you move deeper into the V. After a couple 0.020", I went to 0.015", then eventually 0.010". For the last little bit I was doing 0.005" and then passes of a couple thousandths until I was lined up just right on the hole...
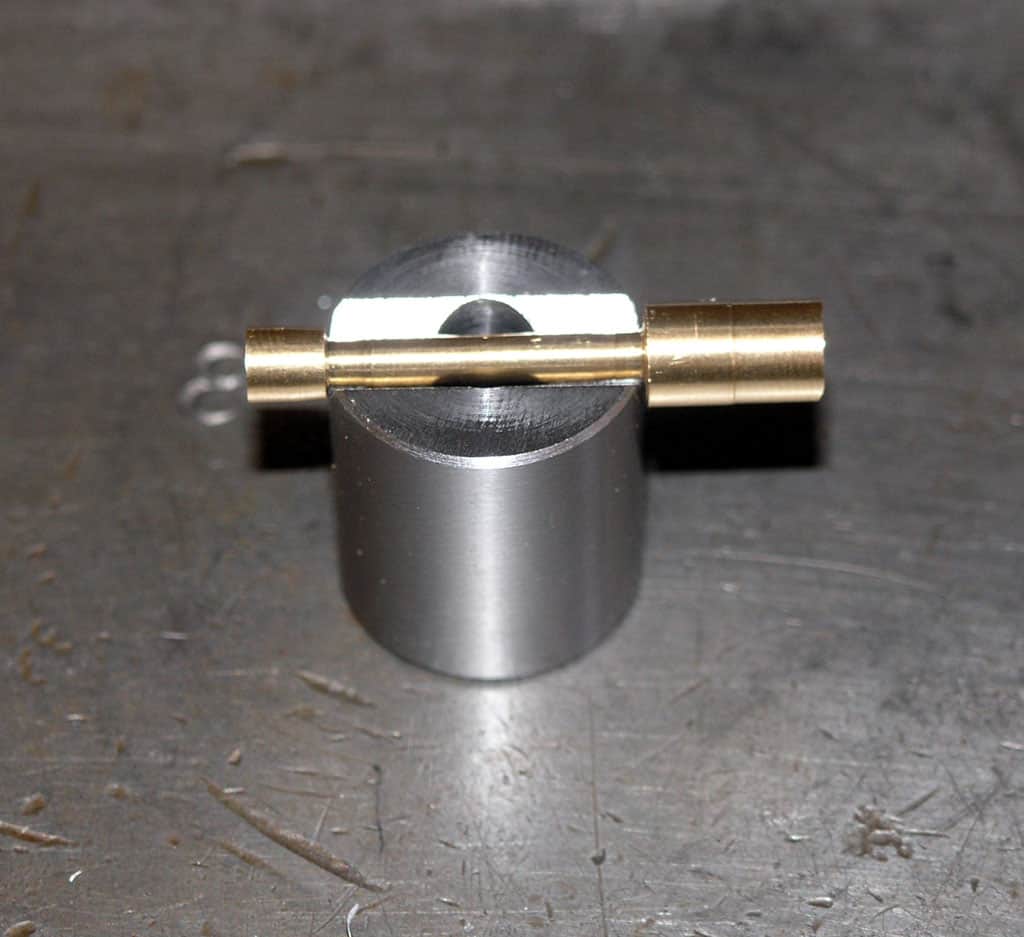
Here's how a sample crankshaft blank fits on the block. This could work!
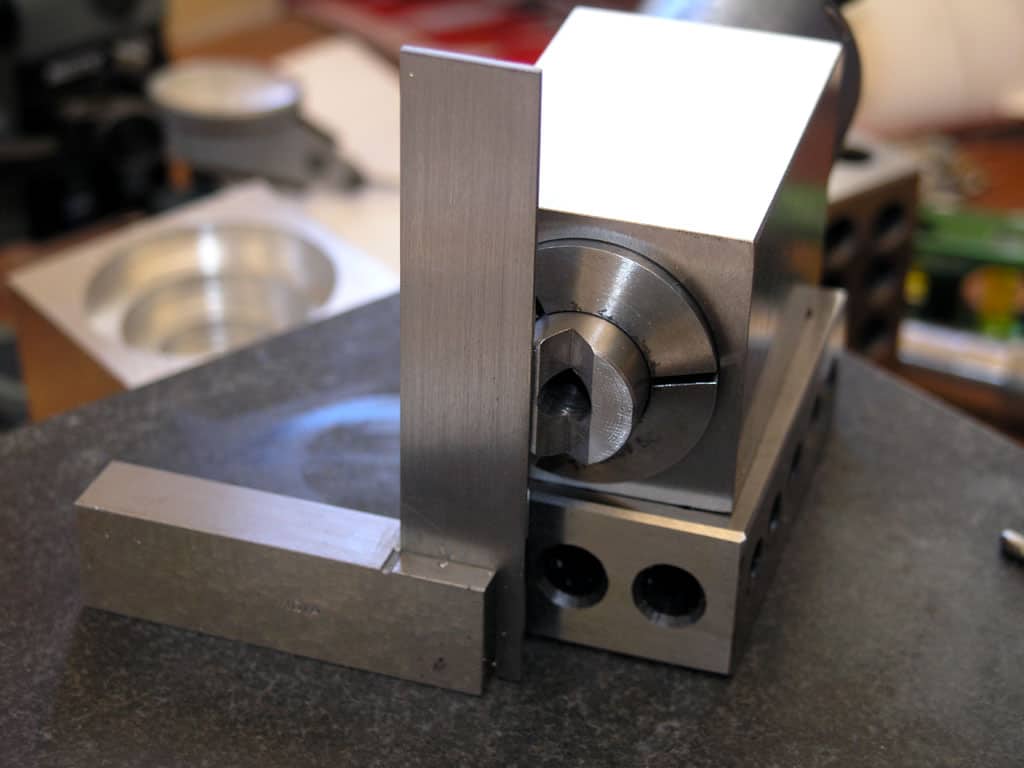
Next up is drilling and tapping 2 holes for the clamp. To make the clamp, BTW, I just parted off a piece before cutting the V. This way I have a piece with the same center hole and exactly the same diameter. I'm using a 5C collet block to hold the work and this my simple method of getting the slot aligned with the sides of the 5C block. Again, there's a lot of eyeball, so not super accurate, but it'll be fine.
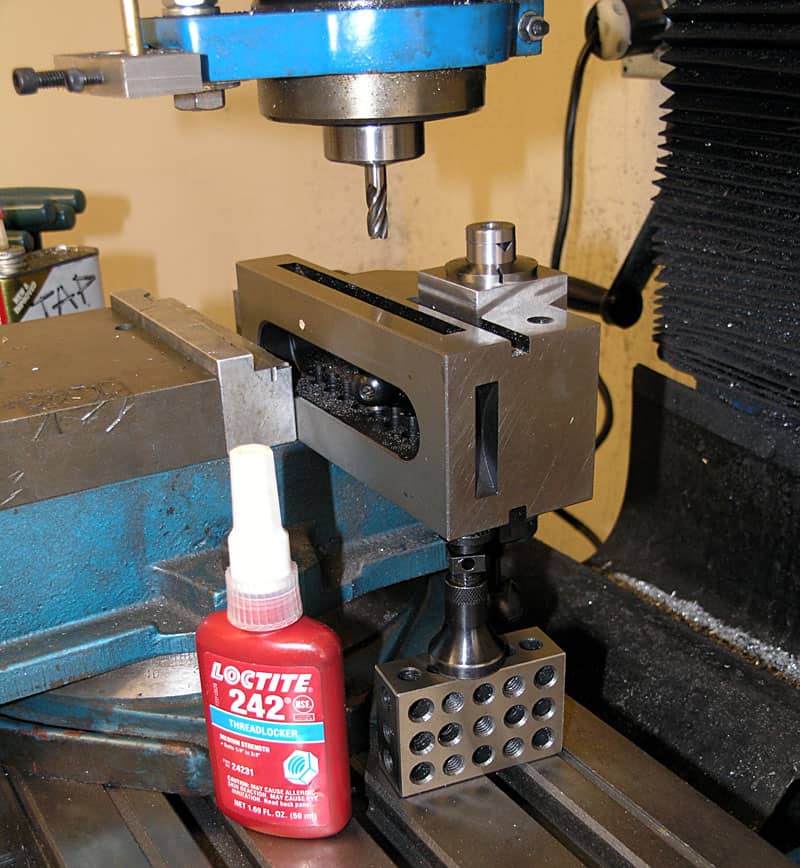
There is a lot going on here! First, the collet block has a big handle sticking out the back. To get clearance, I clamped the collet block into my grinding vise, then lay the grinding vise on its side in the Kurt vise. The 1-2-3 block and jack provide a modicum of rigidity. I don't need a lot-not hogging, just drilling and tapping 2 small holes. Next, I positioned the clamp blank atop the V-block. I want to drill through both so the holes are located the same. To hold them together, I'm using some Loctite as "glue". It releases when heated so I can get them apart again. To position the two parts according to their proper relationship, I used a trick I learned from Frank Ford. Frank uses it to align his tailstock after set over. He claims that by feel you can get it to within 0.001" or less. In other words, by feeling until the two round pieces are matched up. I don't know if it is that accurate, but it'll be plenty good enough for this job!
Now I have to wait for the Loctite to set up before I can drill and tap...
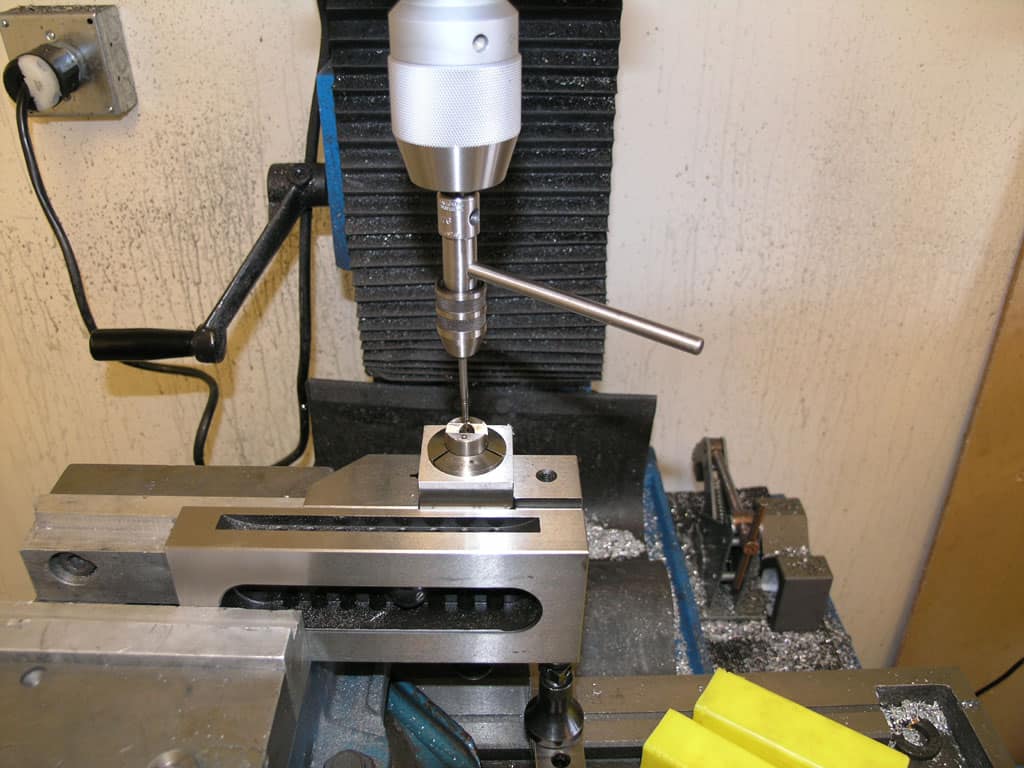
Here I am tapping with a piloted tap wrench. This turned out to be a bust. The first hole when fine, the second hole was going fine, and then tap broke at the last possible moment. The fixture would have been finished had I been able to finish tapping that hole, so maximum work was lost!
I spent several hours and expended 4 1/16" end mills as well as a twist drill trying to drill the tap out. I read somewhere that unless it is really difficult to remake the part, just not to even bother trying to get a broken tap out because it almost never works out well. They were right!
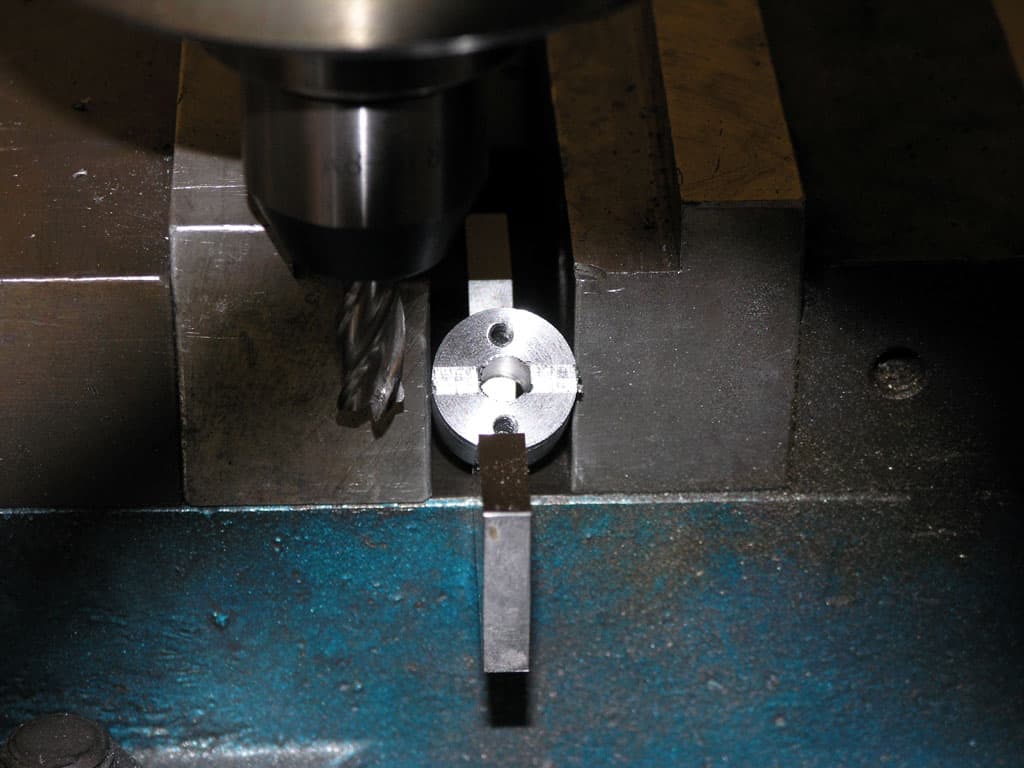
A new button v-block took me about 3 hours from start to finish. I went for slightly larger bolts in hopes of not breaking another tap. I also tapped the holes as early as possible-before I parted off the top or cut the v-groove. This time the force was with me!
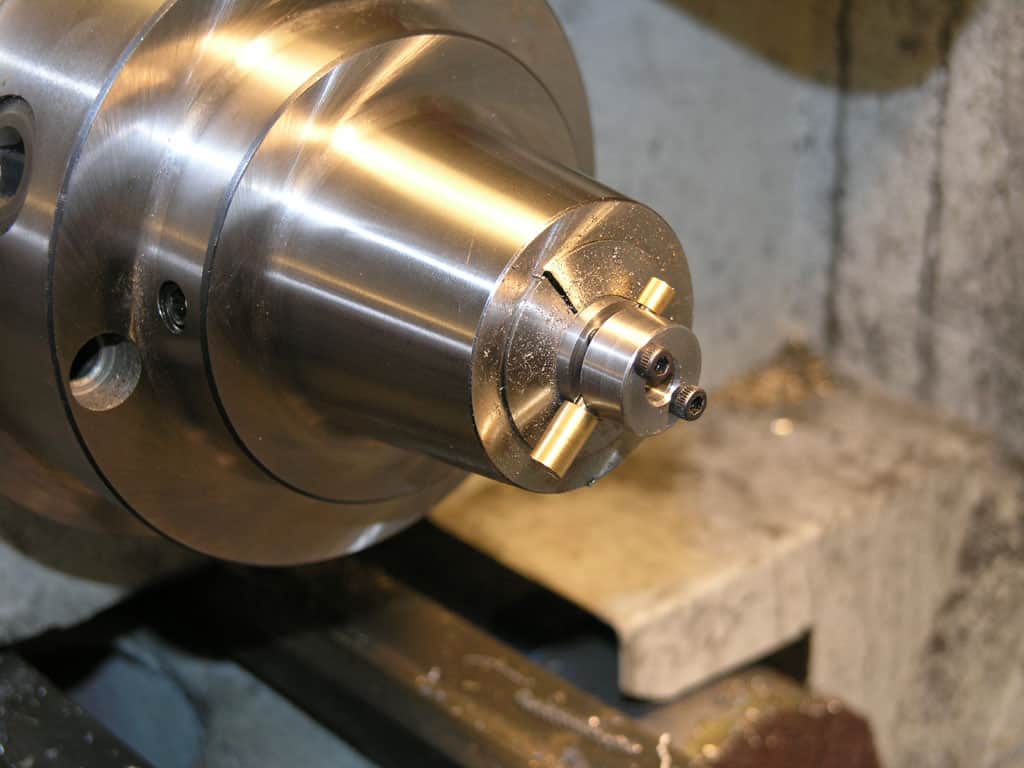
Here is the button v-block with a connecting rod blank loaded...
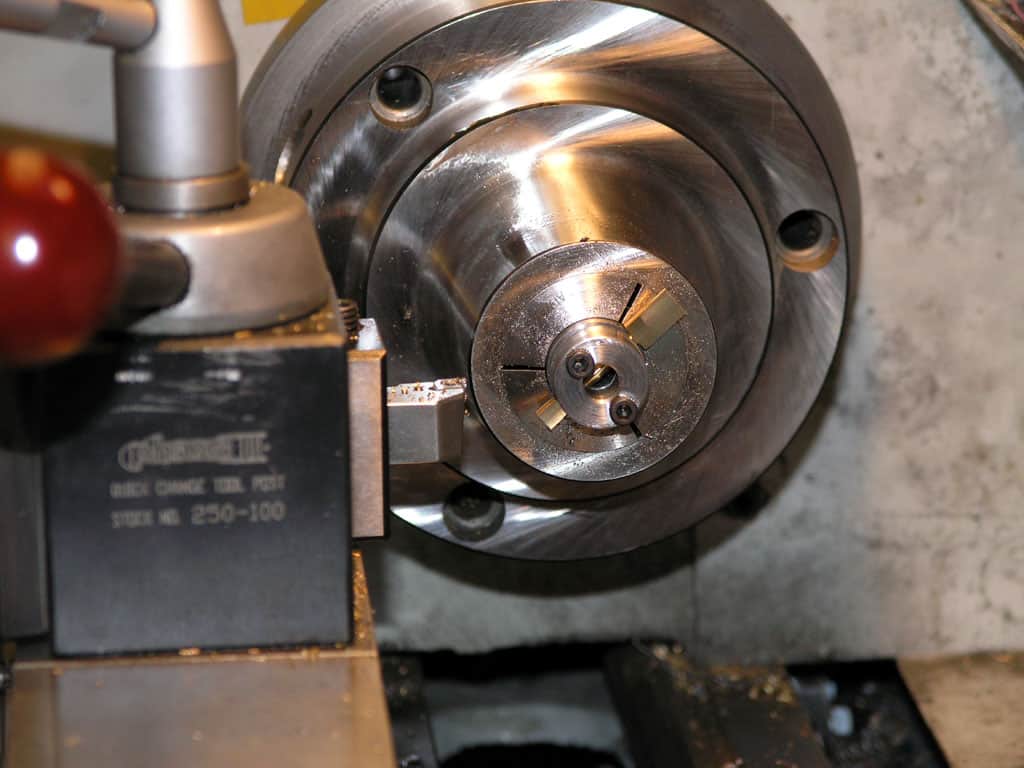
A facing operation cuts the flats on the con rod...
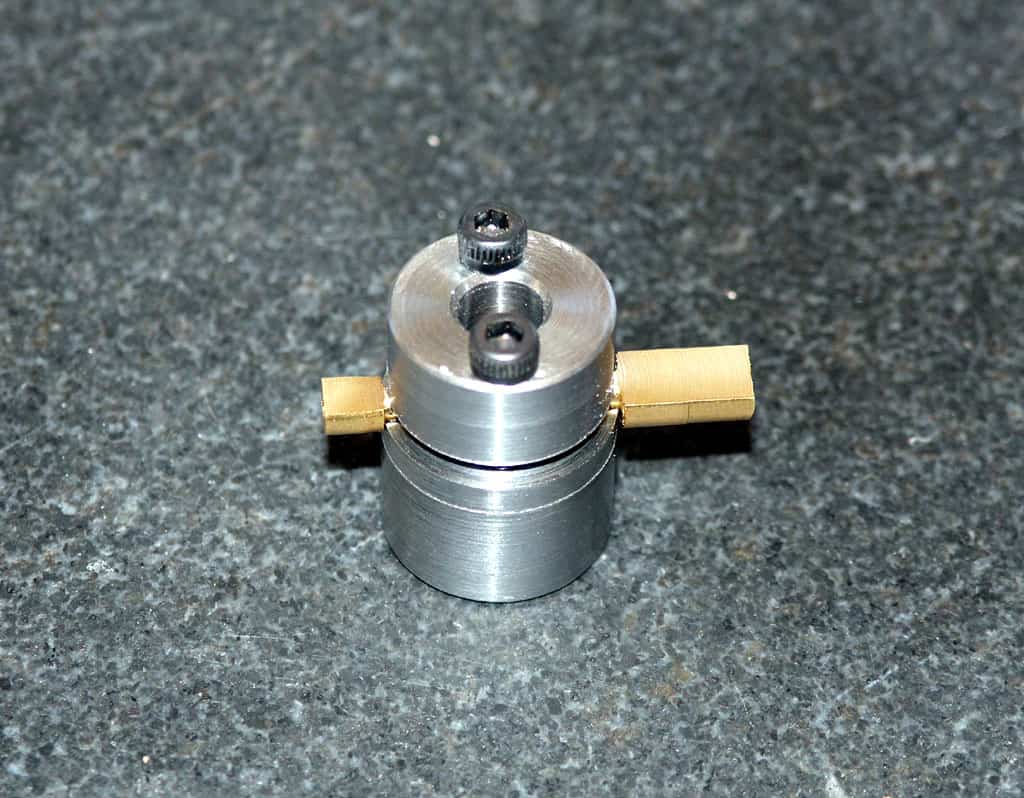
There was no chatter and I got a very nice finish. This is a good way to cut flats on con rods!
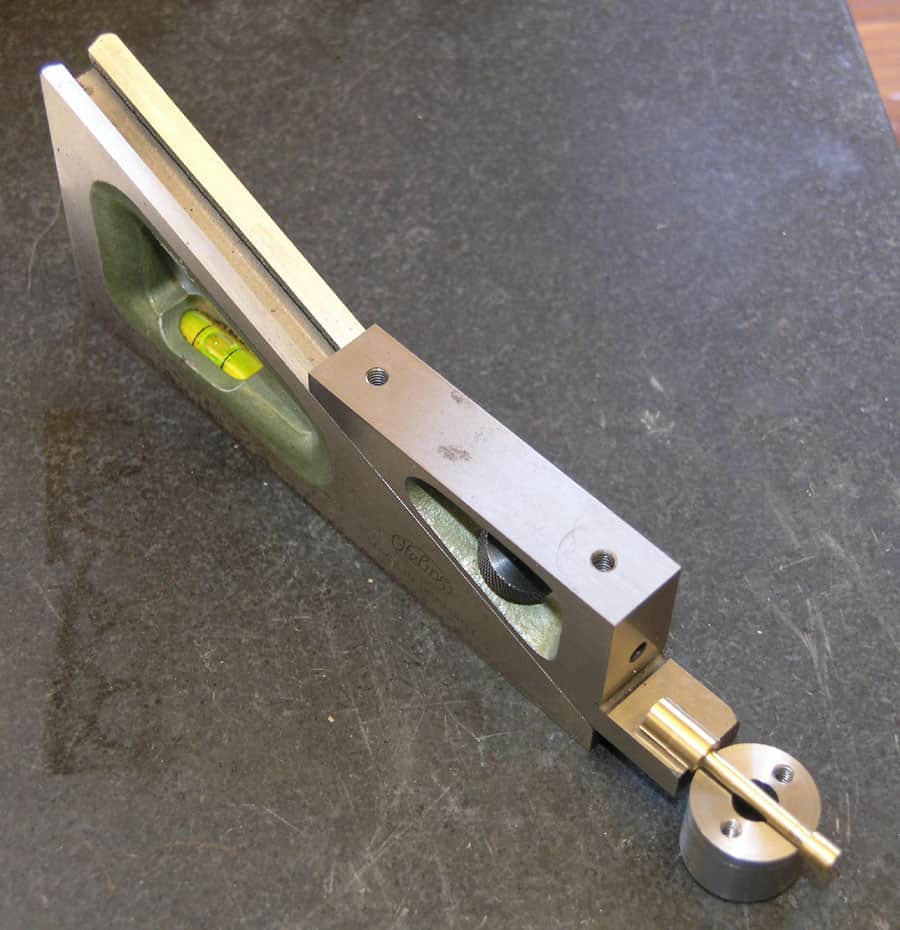
I used my Helios Planer Gage to flip the part so that the flat was aligned properly on the bottom and then went back to cut the other side...
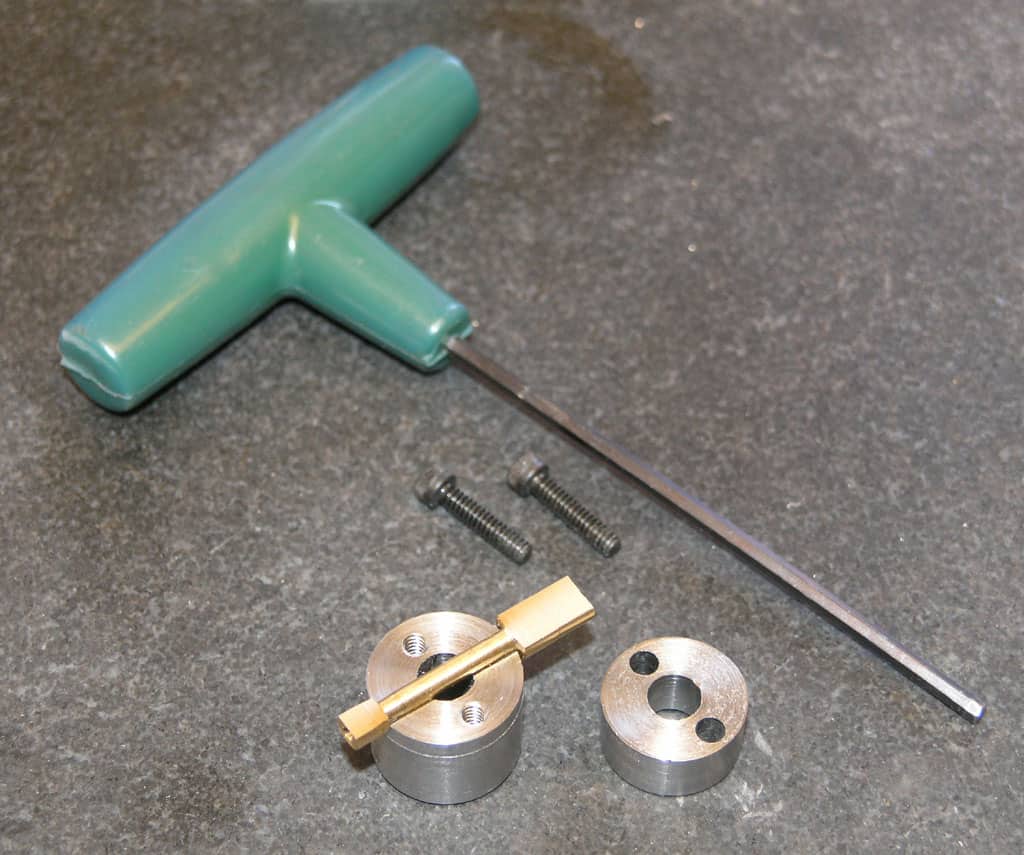
The button v-block is extremely handy for this kind of thing!
Be the first to know about updates at CNC Cookbook
Join our newsletter to get updates on what's next at CNC Cookbook.