Now you have your new lathe.
It's delivered, and in your shop. What do you do now?
My preparation for my lathe started before I even received it. I had gotten the exact measurements for it, and cleared all the space I needed for it to have a home. I also did all of my pre-wiring. The Automate brand machines all require 3 phase power, so that meant that I was going to be getting a Rotary Phase Converter. Automate gives you a nice price on a rotary phase converter from American Rotary.
![]()
I have never used a Rotary Phase Converter before, so don't really have a lot to compare to base an opinion on it, but I can tell you that the company is great to deal with. While not even a customer yet, they put me through to their tech support who helped walk me through understanding the process of wiring it. The instructions they provide are very decent as well, but I was just "making sure" I understood it all. Once I actually received my delivery, hooking up the power was fairly simple and straight forward.
One thing I did order from them directly was a 3 phase circuit breaker that was designed to mount right in the control box for the Rotary. It was about $100, but to have that extra level of protection is well worth it. It's also nice, because you can use that breaker to kill all power to the lathe should you need to work inside the electronics cabinet.
By default, the 2 of the 3 legs of power (the 2 lines provided by your electrical service) are piped directly into the machine it's connected to, and the rotary only generates the 3rd leg of power. So be warned, even if you have the rotary off, you still have 2 legs of power that are still live going into the lathe.

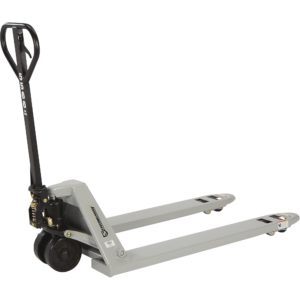
I also made sure that I had the equipment to move it around once it was in my shop. I had an old pallet jack that was rated at 5500 lbs, so I figured I would just use that. While my old pallet jack lifted it, and moved it, it was not an easy task, due to finding out that the plastic coating on the wheels pretty much disintegrated with the weight of the lathe (3800 lbs) on it.
Yep, you guessed it, new pallet jack time. Northern Tools sells some really nice ones for fairly cheap. As of the date of this article, it's actually on sale.
Now comes the unpacking portion.
First of all, I took the time to open every cover, check all the wiring and the various connections to make sure nothing had come loose during shipping. This also involved opening up the electronics cabinet and checking everything over. There were things tucked all over the place, so getting everything unpackaged and seeing what I had to work with was my first priority.
They ship the unit with some locking brackets bolted into place so that the ZX table doesn't move during shipment. Just a few bolts, and those were removed.
The front perspective of the lathe table depicts the yellow lock down brackets.
One thing that I found out when installing the Rotary Phase Converter, is that if manufacturers put too much information in the manual in the way of instructions, it can actually create liability issues. There seems to be a fine balance between
- providing enough information for someone who is knowledgeable to figure it out, and
- giving step by step detailed directions that could cause someone who THINKS they know what they are doing - to hurt themselves.
I mention this, because it brings me to another point. If you are unsure about something in any way, no matter what it is, "Be Patient" and get the answers before continuing on. Or, hire someone who does know what they are doing to do it for you. Impatience is NOT worth your life or limbs!
I'll say it again: If you are not 100% sure of what to do, don't do it until you are 100% sure. If there is any question or concern, get a certified machine installer or electrician to do it for you!
The next thing I did was get the machine moved into place. It was a lot of slow movement and minor adjustments in position. The new pallet jack made it very easy. Once the lathe was moved into place, I figured it was time to deal with leveling the machine. Now, I don't have a fancy level like some riggers use, but I found this little gem to be a really nice tool and got me to a "level" I was comfortable with. (Pardon the Pun)
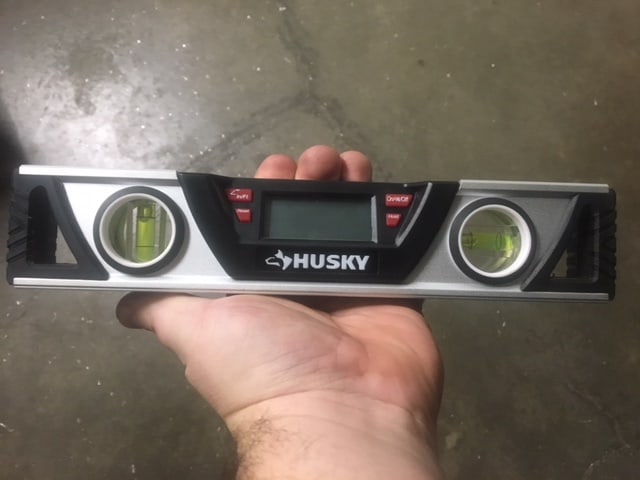
The level goes in 1/10th's of a degree. I used the pallet jack to lift the lathe, and then I put various shims under the feet until I was dead on level in X and Z. I actually used some of the metal bands as shims along with some thicker stock that I had laying around. Maybe it's wrong, but it works, and after 4 months, my lathe is still level on both axes. I know that those are leveling feet, but I was simply not able to get them to adjust as much as needed, or even work as intended.
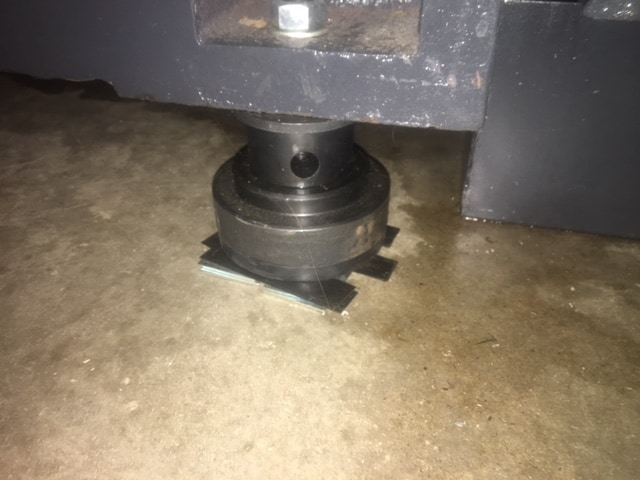
There were a few other things to do as well, such as getting the coolant tray into position, getting air hooked up to it (my machine has a pneumatic collet closer), and making a small tweak to the setup in the spindle housing which was adding a support leg to the coolant ramp.
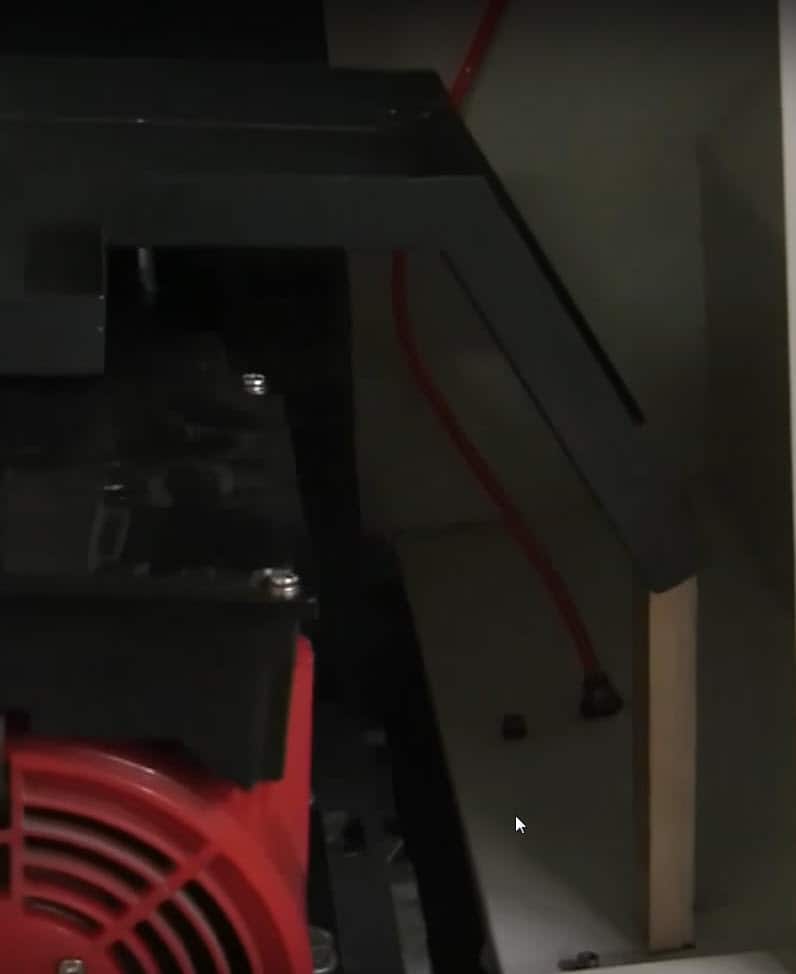
Apologies for the darkness of the photo, but you can see the leg I put on the front of the ramp pretty clearly.
Steps after unpacking and leveling the machine
At this point, I was ready to hookup the power to the machine. After getting the instructions from American Rotary, and talking with the guys at Automate, it was just a process of connecting 4 wires into the machine, and turning it on.
I basically have a 3 step power up process:
- Turn on the Rotary Phase Converter and let it get up to speed (which is only a few seconds).
- Flip the power switch on the back of the lathe.
- Hit the green "start" button on the control itself.
NOTE: I did have to swap 2 of the 3 phase wires around as the machine was running in reverse. I was warned of this by Automate and what to do if it happened.
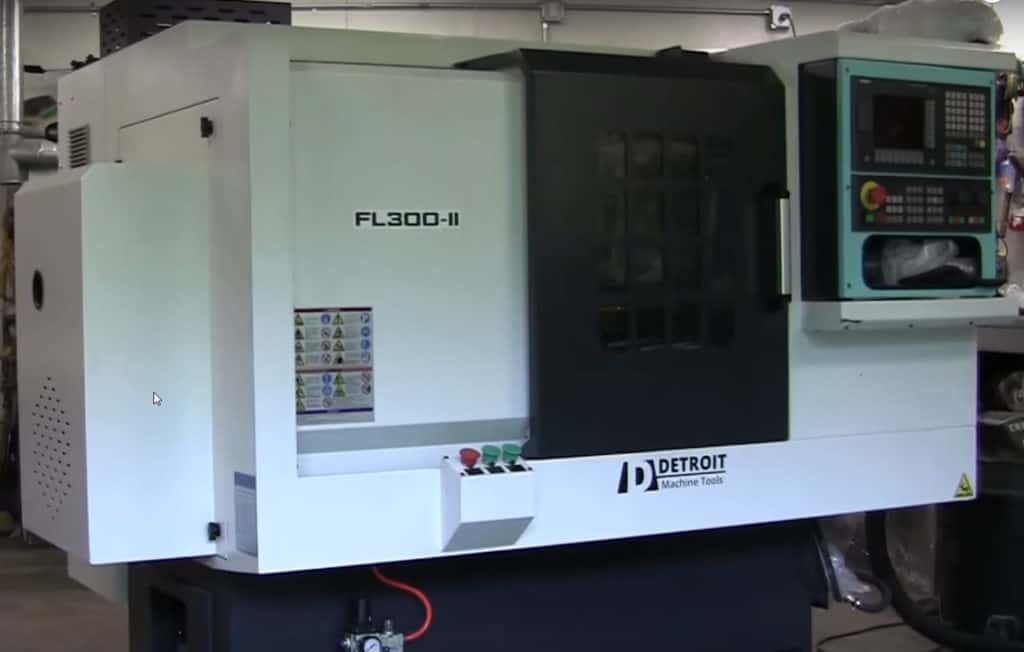
At that the machine booted up, and I spent the next 30 minutes digging through the manual as I had no clue what to do! I wound up calling Automate as I couldn't find the startup procedure in the manual. The FL300-II has a Siemens 808d control which I had never used before. Once I talked to the tech at automate, the startup process for the control is pretty simple:
- Press RESET
- Press Reference button
- Press Z+ button which references the Z axis
- Press X+ button which references the X axis
- Press JOG
- Press the ToolChange button to index the turret
Simple once you know it, but frustrating when you first power up the machine and can't find the startup proceedure.
All in all, it is a pretty painless process. I took my time on each step and had people check my work with the wiring. I'd rather wait a bit and be patient and get it right rather than hurry and screw up a new machine.
Thanks for reading, and keep an eye out for my next article where I talk about tooling up your machine on a budget!
Wade Wendorf
Mandala Rose Works, LLC
Check out more videos here.
Wade Wendorf runs and owns a company called Mandala Rose Works, LLC which for the last 8 years has designed, manufactured and produced a unique machine called a Rose Engine Lathe targeted at the home woodworker and hobbyist. In addition to building and selling his Rose Engines, he also does prototyping and short production runs of parts for various customers.
Be the first to know about updates at CNC Cookbook
Join our newsletter to get updates on what's next at CNC Cookbook.