One of the problems with getting started with a DIY CNC Conversion is not having a CNC to help you make the parts. You can find kits, which are very helpful. You can try to manually machine the parts, which is entirely doable. I did some of both for my first CNC project-an RF-45 mill conversion. But I came across another approach that seemed to work extremely well-bootstrapping the project with a 3D printer.
Let's say you've got a 3D Printer already, and you want to augment its capabilities with a CNC Mill. Presumably you've got plans for the CNC Conversion Kit for your Mill. Basically, you'll need motor mounts and ballnut mounts for the ballscrews. Over on Reddit I came across a guy who used his Rostock-style 3D Printer to do just exactly what I'm describing. He started with a set of plans to convert a G0704 from Hossmachine (great site for DIY'ers, BTW!). Here are some pics showing the 3D Printing aspect below. More details on his photo blog of the project.
You didn't provide any text. Please enter the text you'd like me to rephrase.
Here's a shot of his Controller built in an ATX PC Case...
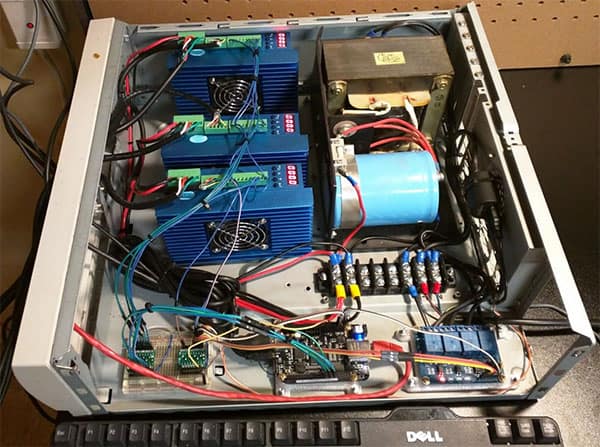
And here it is with wiring. The author talks about 3D printing some wiring conduit to help clean it up-another brilliant use for a 3D printer!

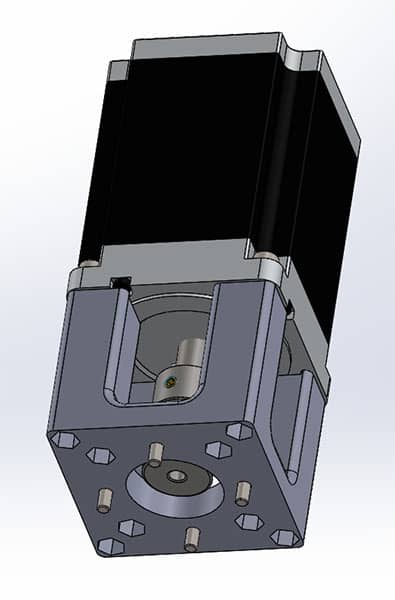
Motor mount from Hossmachine's G0704 plans. This was scaled up to support NEMA 34 motors.
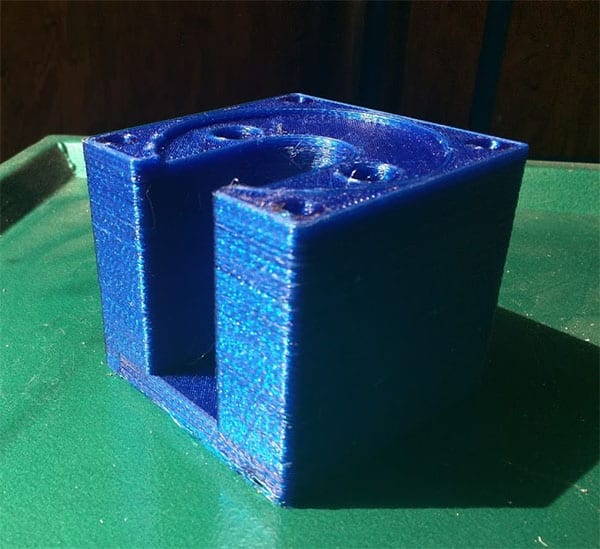
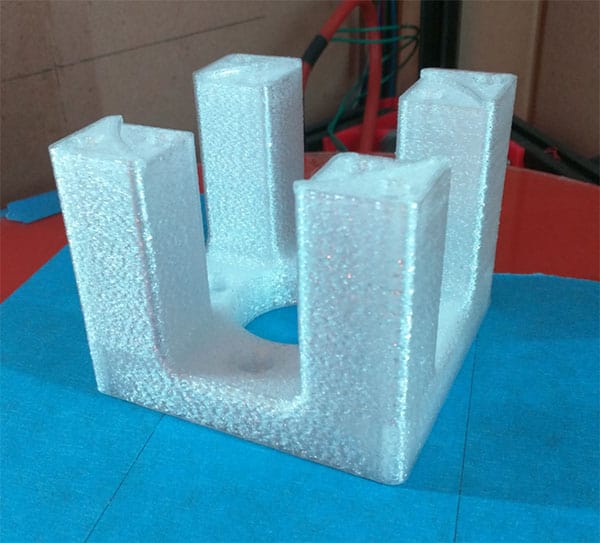
Here's the 3D Printed Y-Axis motor mount. PETG was used for superior layer adhesion, strength, and hardness.

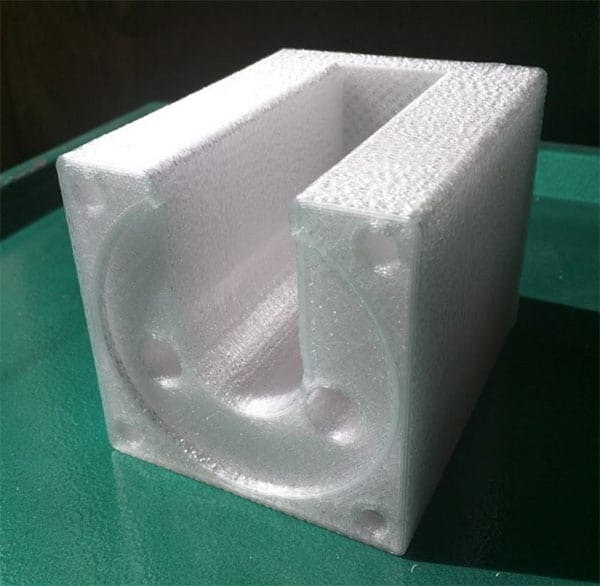
3D Printing the Y-axis Bearing Block...
3D Printed X-Axis Motor Mount...
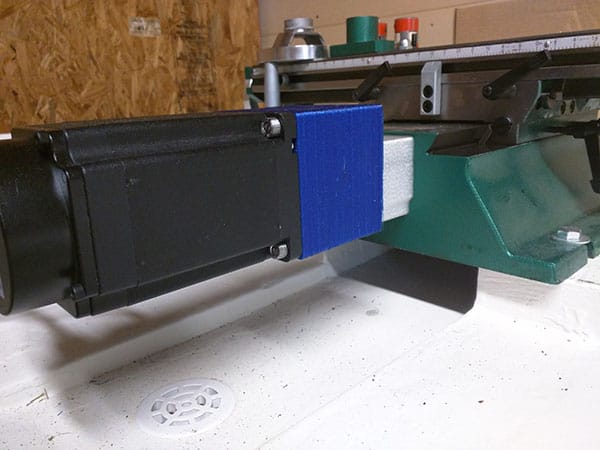
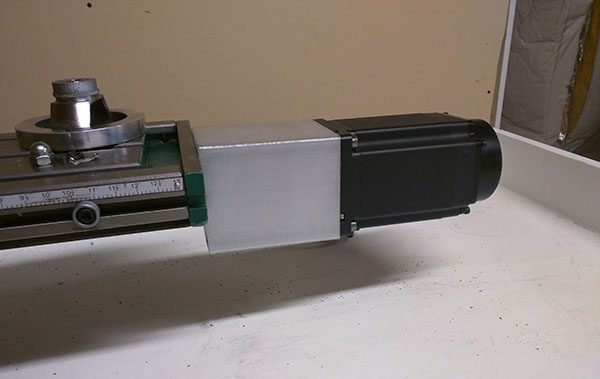
Y-Block and Motor Mounted, Installed on Mill...
X-Axis Mount bolted up...
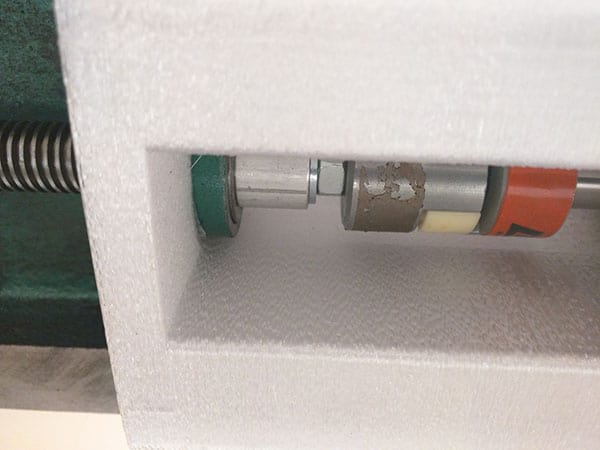
Lovejoy coupling up underneath mounts...
Z-Axis will look like this...
3D Printed Z-Axis Mount...
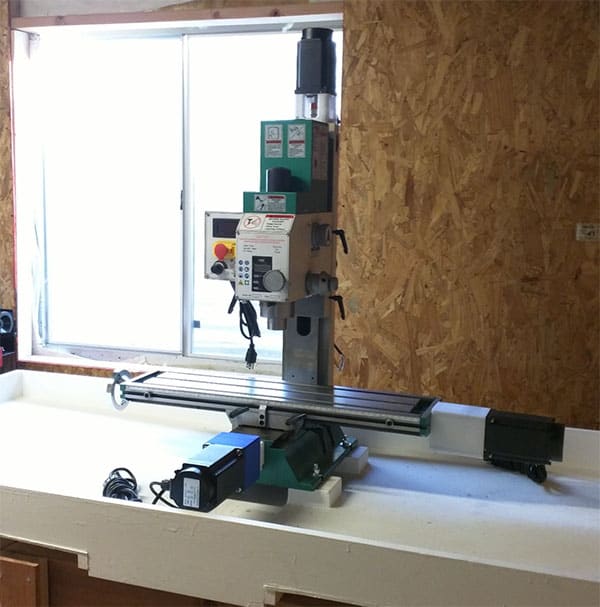
All axes are bolted up...
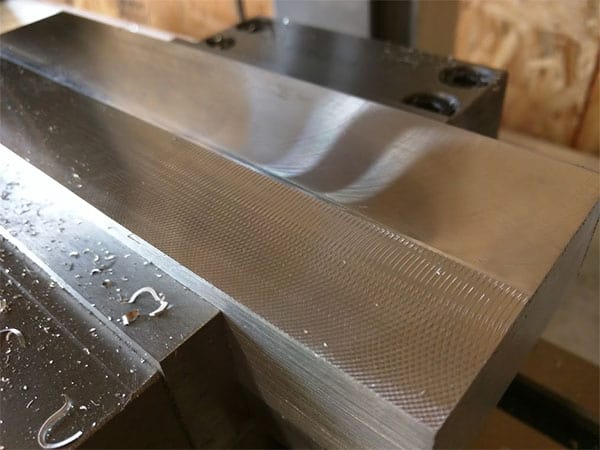
Initial cuts with a facemill. That's roughing pass in the foreground showing via equal crosshatch patterns that the mill is trammed properly. The rear is a finish pass. Not too shabby for plastic parts, ACME screws, and plenty of backlash!
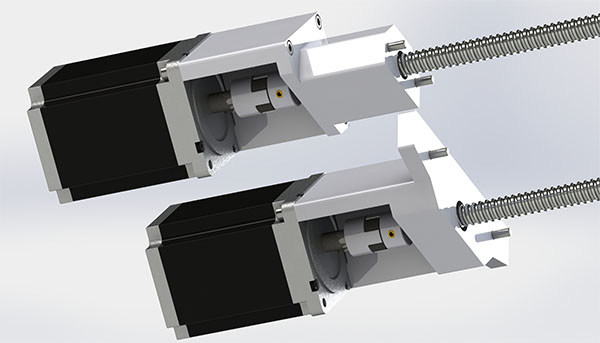
The point of all this is to machine these nifty new mounts out of metal for ballscrews...
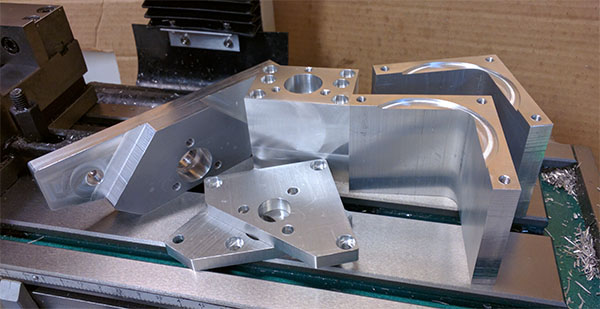
Here's what the new metal parts look like. They're CNC machined and came out gorgeous.
Bootstrapping with a 3D Printer made this project come out really nice. If you don't have a 3D Printer, you could still take this approach. Just use Shapeways or one of the other 3D Printing service bureaus to make your plastic parts.
Be the first to know about updates at CNC Cookbook
Join our newsletter to get updates on what's next at CNC Cookbook.