In my previous blog this week about 3D printer Mechanics, I concentrated on the commonly known Cartesian printer geometry. I ended the article by stating that I'd soon present a follow-up article discussing an exhilarating new advancement in 3D printer mechanics - the delta robot printer.
A Little Background
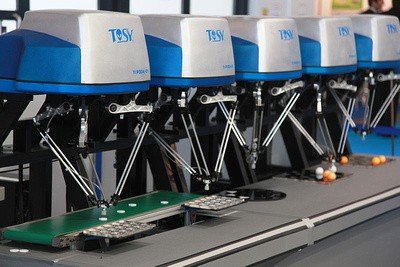
According to Wikipedia, a delta robot is a parallel arm robot invented in the early 1980s. The delta format was developed to manipulate light and small objects at high speeds. Here us a photo of a row of delta robots picking parts:

Unlike a Cartesian geometry, the delta robot has three fixed length arms arranged 120° apart on the perimeter of a circle. In a simple delta robot geometry, one end of the arms are attached to carriages that move vertically up and down on a track. The other end of the arms are attached to the delta head (where the tool or picker mechanism is attached). The delta head position is coordinated in space by moving the carriages up and down and calculated using trigonometry. Here's a drawing showing simple delta movement in 2 dimensions:

Look at the arrangement of the dark blue arms and delta head on the left. The red lines indicate the right triangles that are used to calculate the position of the head. Recall from trigonometry the relationship between the lengths of the legs of a right triangle is "a squared plus b squared equals c squared". "c" is the length of the arms and is a fixed constants. Using the formula, if the head (1) needs to be positioned at a specific "b", the length of "a" can be calculated and the carriage moved to that location on the track. Of course, the same calculations are made for the other arm position as shown in the drawing and in the full 3 dimensional case, at all three positions.
One caveat on the mechanics, the arms are actually two parallel arms attached to the carriage at one end and the delta head at the other to form a parallelogram. This arrangement insures that the delta head remains parallel to its plane of movement.
The Delta 3D Printer
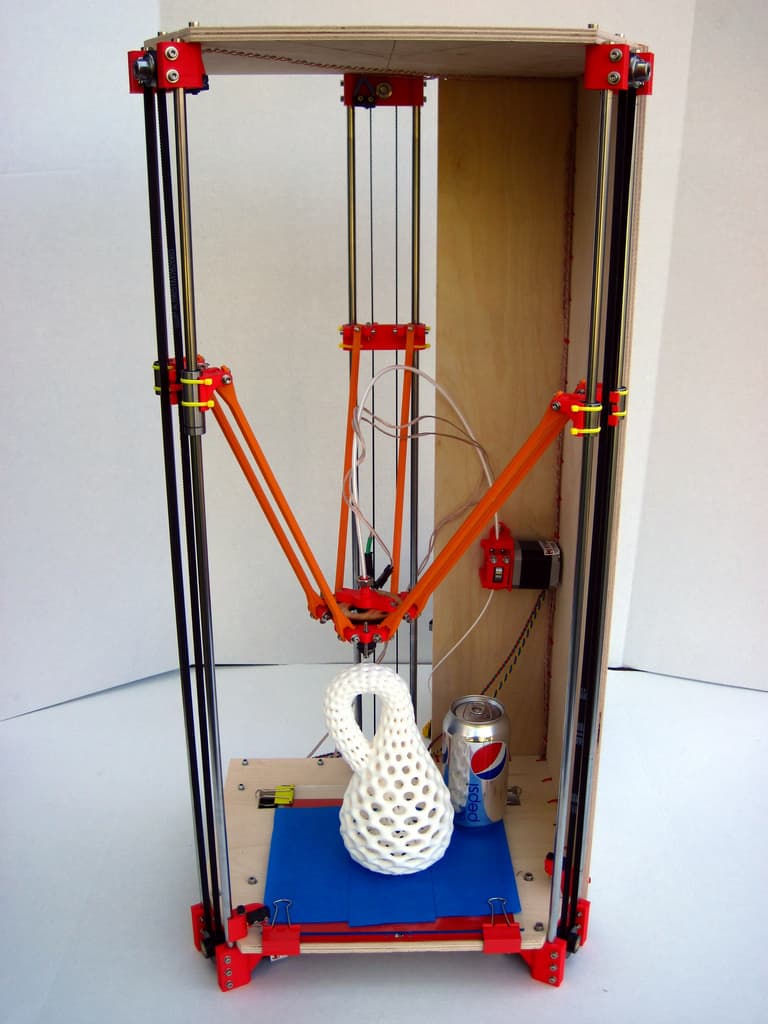
In 2012, Johann Rocholl revealed his Rostock Delta Robot 3D printer to the Open Source RepRap community. I believe this was the first delta printer capable of printing. The Rostock was derived from a 2010 project, the Helium Frog Delta Robot, which was an experimental platform that could draw but not print. The heated nozzle, or hot end, is mounted on the delta head but to keep moving mass low, the extruder mechanism is mounted on the rigid structure and connected to the hot end with a Bowden tube as described in my last post.

The Rostock had lofty goals:
- a large build volume - 200x200x400mm (8x8x16")
- 800 mm/s positioning speed in all 3 directions
- 30 steps.mm positioning accuracy in all 3 directions
- simplicity
- hardware costs less than $500
All three axes of movement on a delta printer are identical. This reduces the number of unique parts and makes for simpler construction. Cartesian printers typically have three different positional mechanics for each of the axes with differing position speeds and accuracy on these axes.

In addition to their technical advantages, delta printers are real head turners when they go about their business!
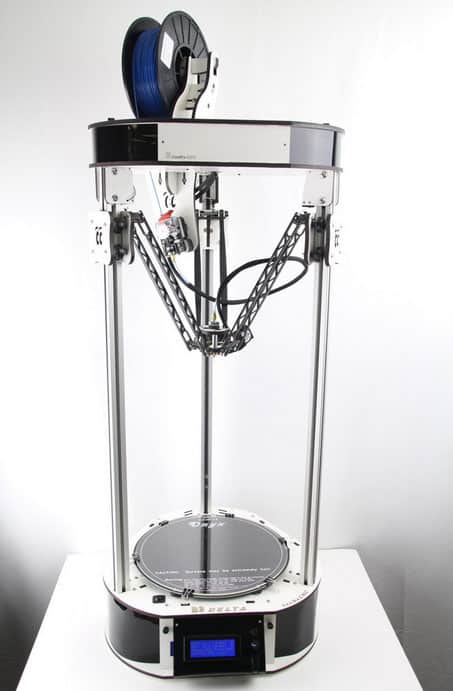
The folks at SeeMeCNC worked with Johann last year to design and produce the very cool Rostock MAX delta printer kit. I own and built a Rostock MAX earlier this year and it is an amazing thing to watch print and has a massive 1300 cu-in build volume with a 11" diameter build surface and 14-3/4" height.

This is actually the SeeMeCNC Rostock MAX V2 kit. CNCCookbook ordered one of these...
Delta printers are still relatively new and refinements in the mechanical design, electronics, and the software to control them are evolving rapidly. This can be a little frustrating to new entrants to 3D printing but the forums offer lots of help and expertise to help.
Postscript
CNCCookbook is building a Rostock MAX V2 3D Printer!
Be the first to know about updates at CNC Cookbook
Join our newsletter to get updates on what's next at CNC Cookbook.